Incident Tracking - Report and Widget(s)
Where to find your incident tracking report, and how to add/customise Incident Tracking Widgets.

Written by Alicia Roberton
Updated at July 27th, 2024
-
Getting Started Day To Day Management Managing Users Managing Multiple Schools The Dashboard The Template Editor Managing Staff Profiles Advanced Editor Insights and Reporting User Settings MIS Integration Troubleshooting and Support Safeguarding Guide What's New External Checks Sign In App Integration Incident Tracking
Table of Contents
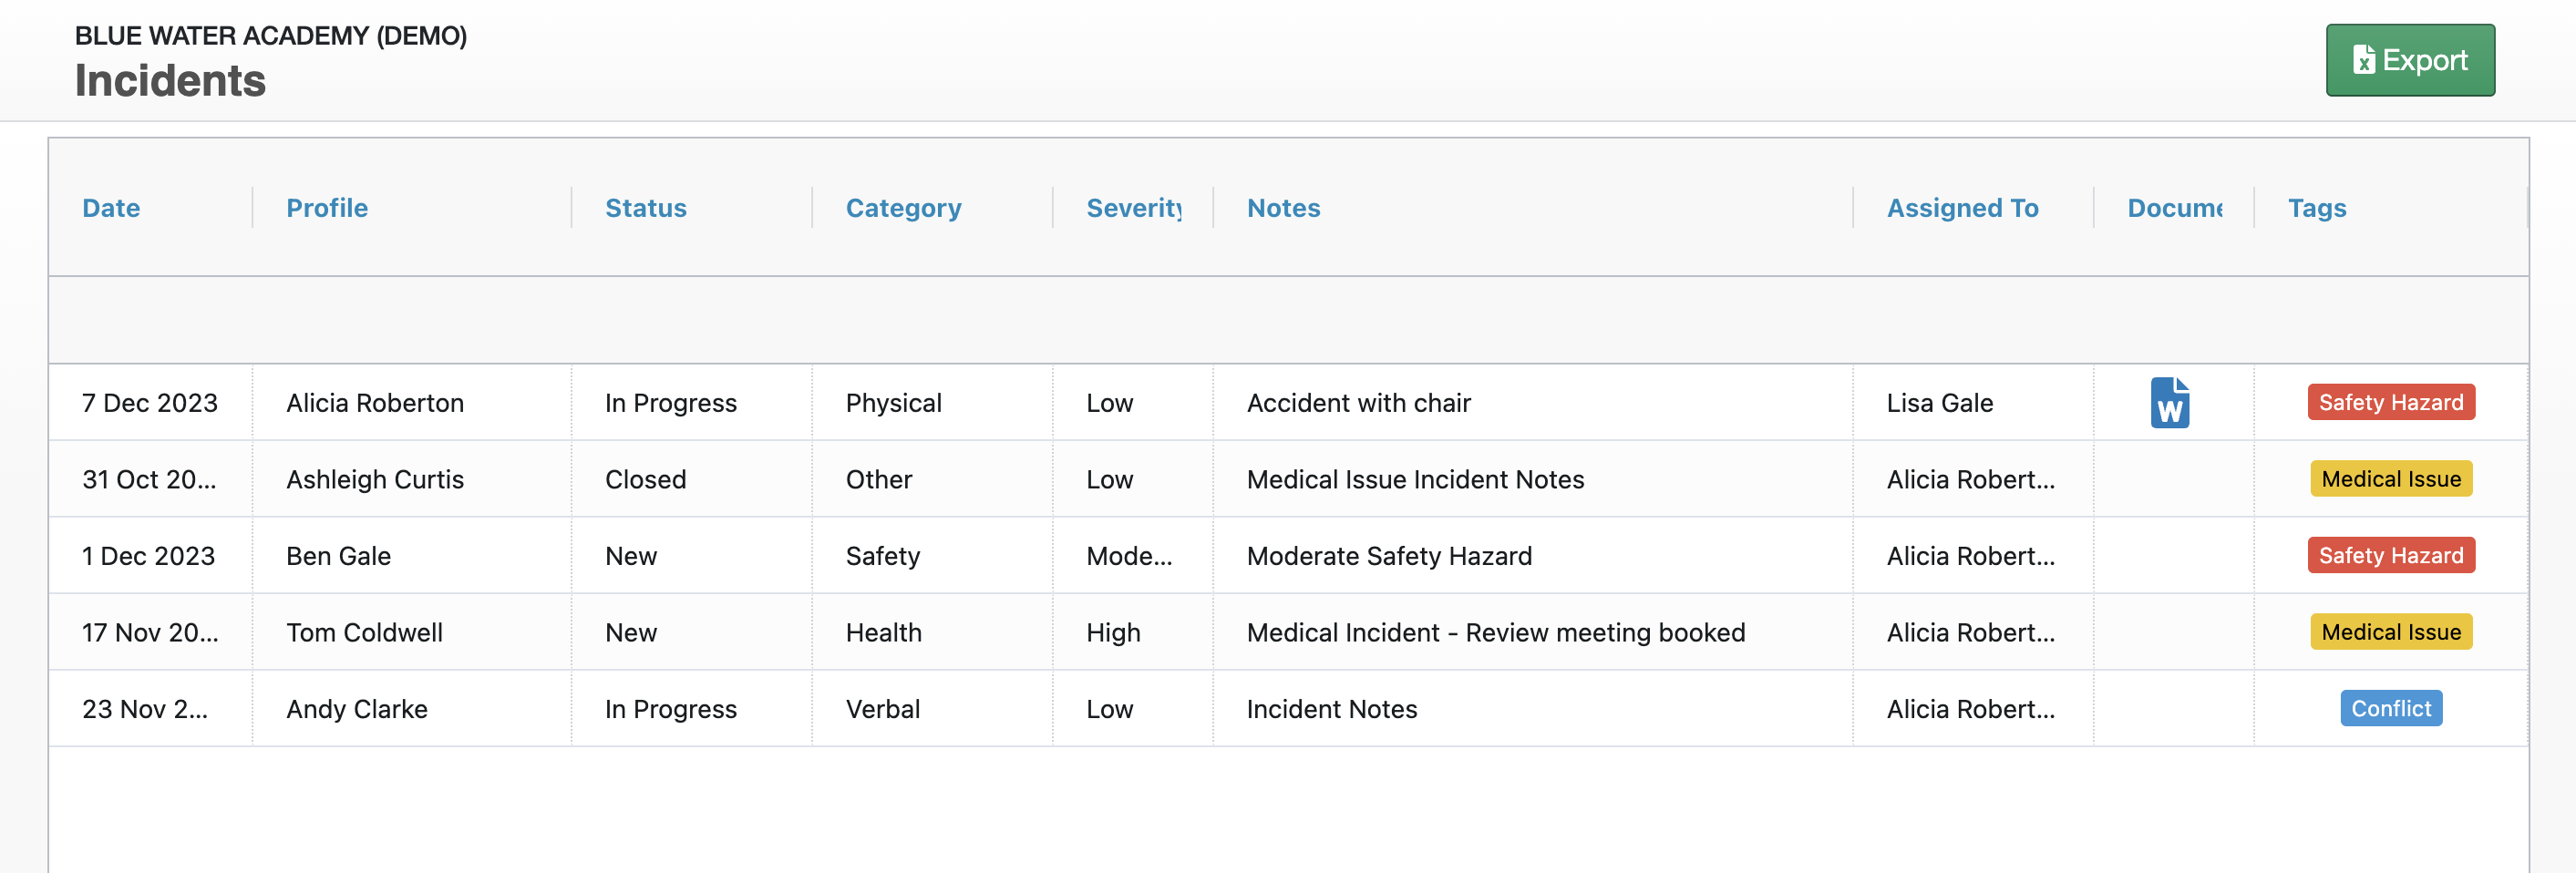
Incident Tracking Report
You can locate your default Incident Tracking report by navigating to Insights>Incidents. Click 'View' to open the report, or 'Export' to export the report to Excel.

The report will be a live, up-to-date log of all incidents that have been recorded and their current status:
Incident Tracking Widget(s)
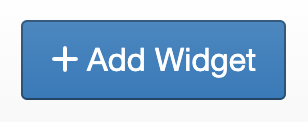
You can also track incidents from your dashboard. To do this, click '+Add Widget' in the top right-hand corner of your dashboard and select 'Incidents List' from the Widget options:

Tip: You can add this widget to your school dashboard, alternatively you can Create a Custom Dashboard for Incident Tracking.
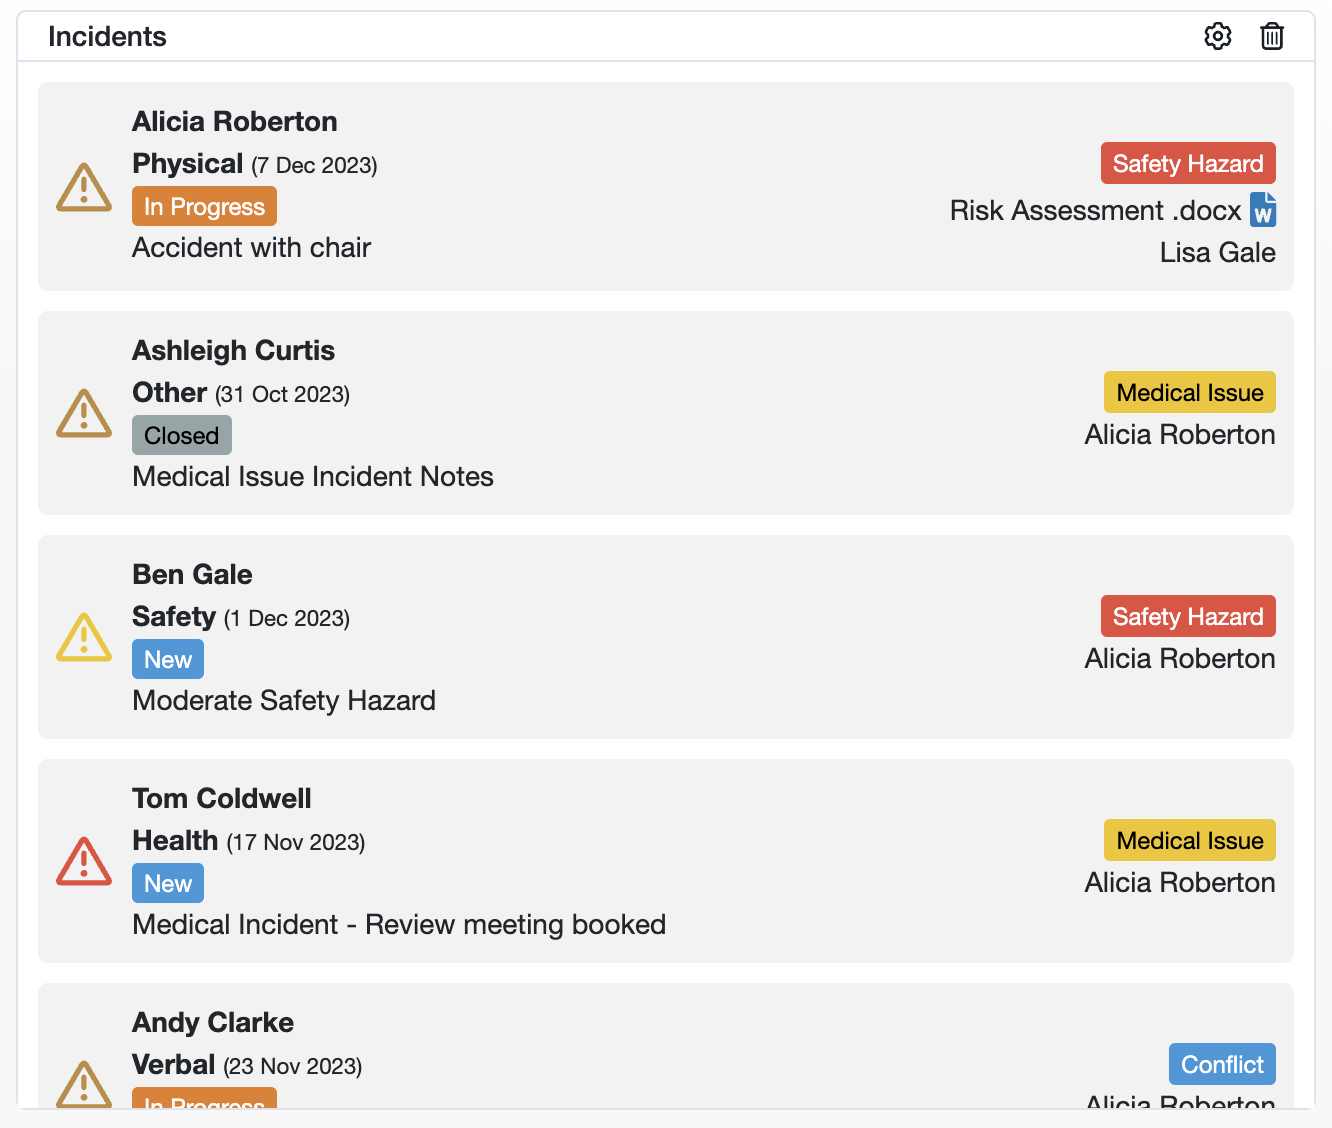
By default, the widget will show a list of all incidents and their current status, where you can click directly into the incident timeline on the staff profile page:
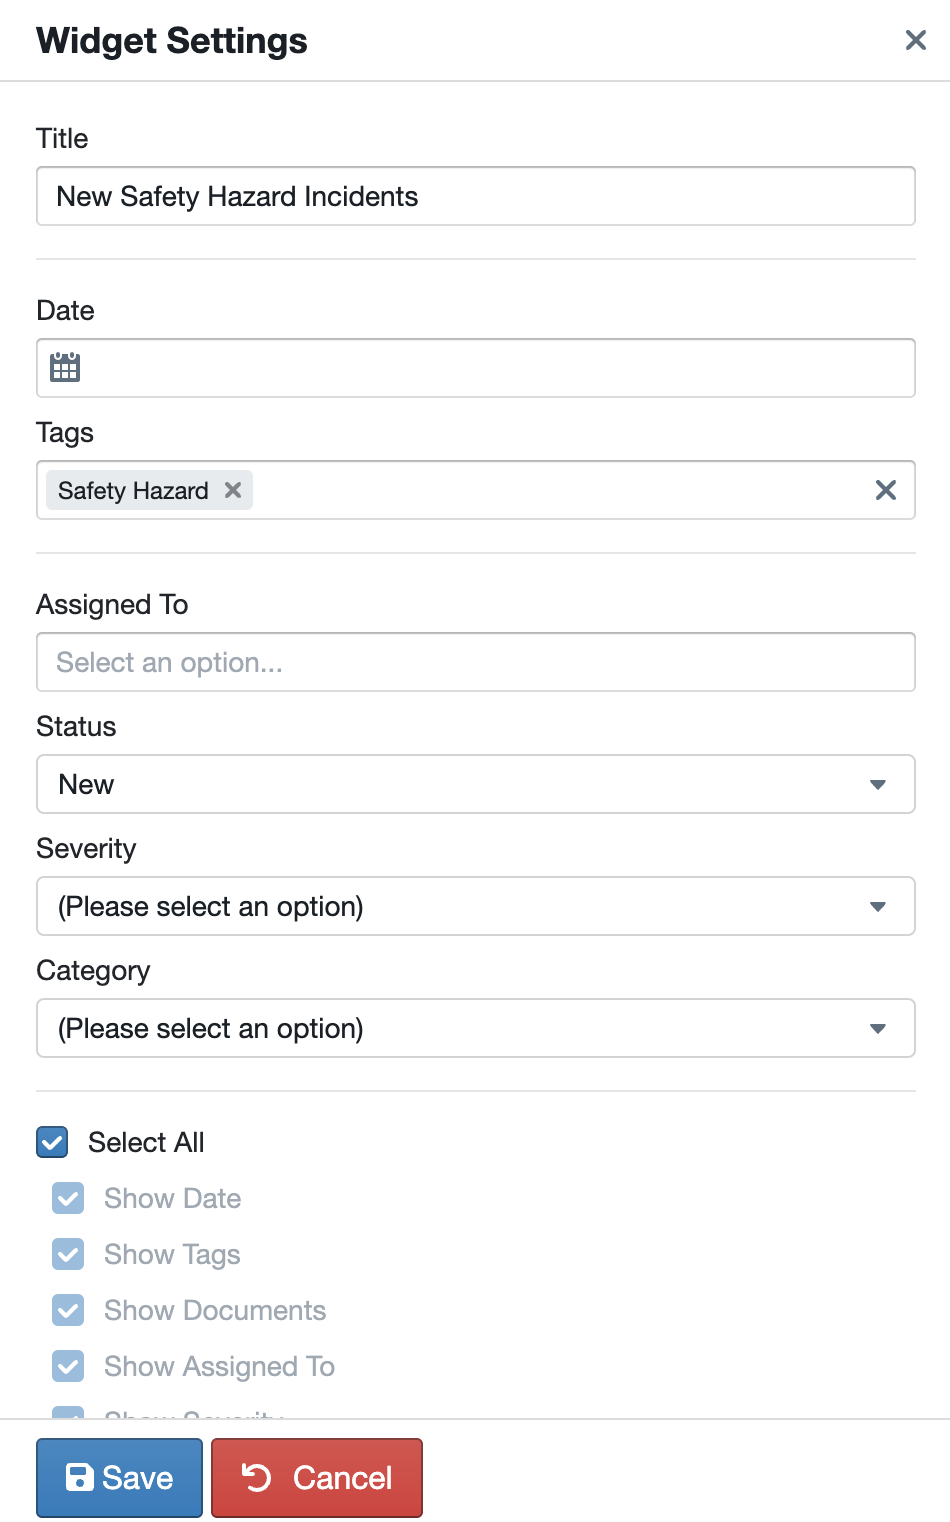
You can also customise the widget by clicking on the cogwheel icon in the top right-hand corner of the widget, to open the widget settings. Here, you can edit the following:
Widget Title, Date of Incident, and Tag(s):

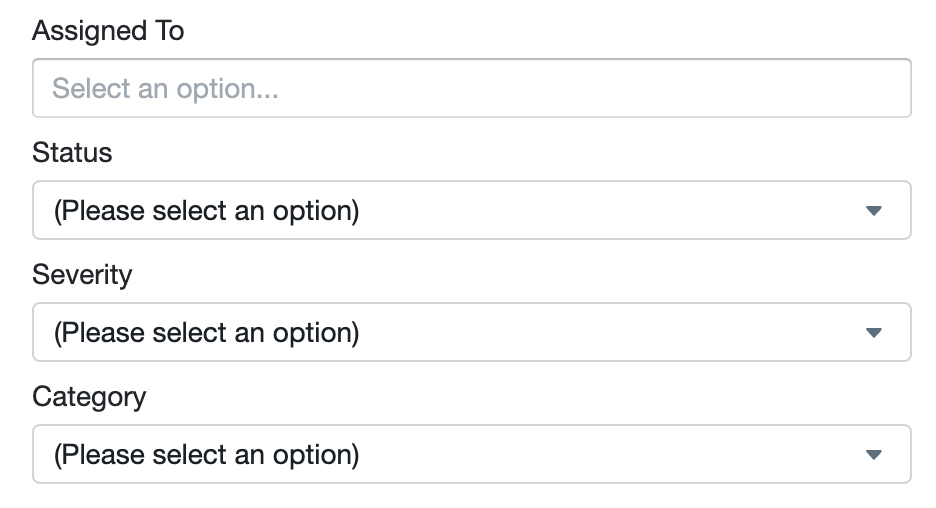
Who the incident has been assigned to, as well as Status, Severity, and Category:
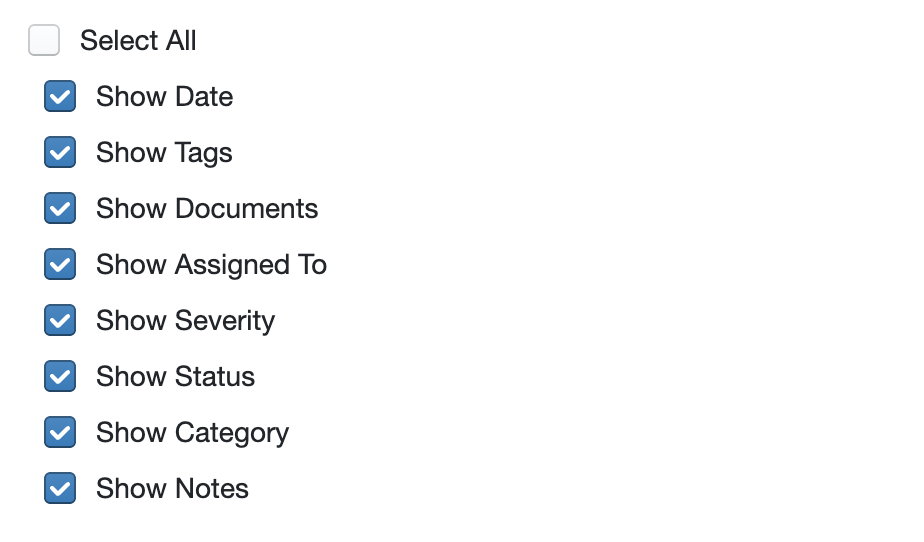
You can also edit what information from the incident you'd like visible on the widget:
Custom Widget Examples
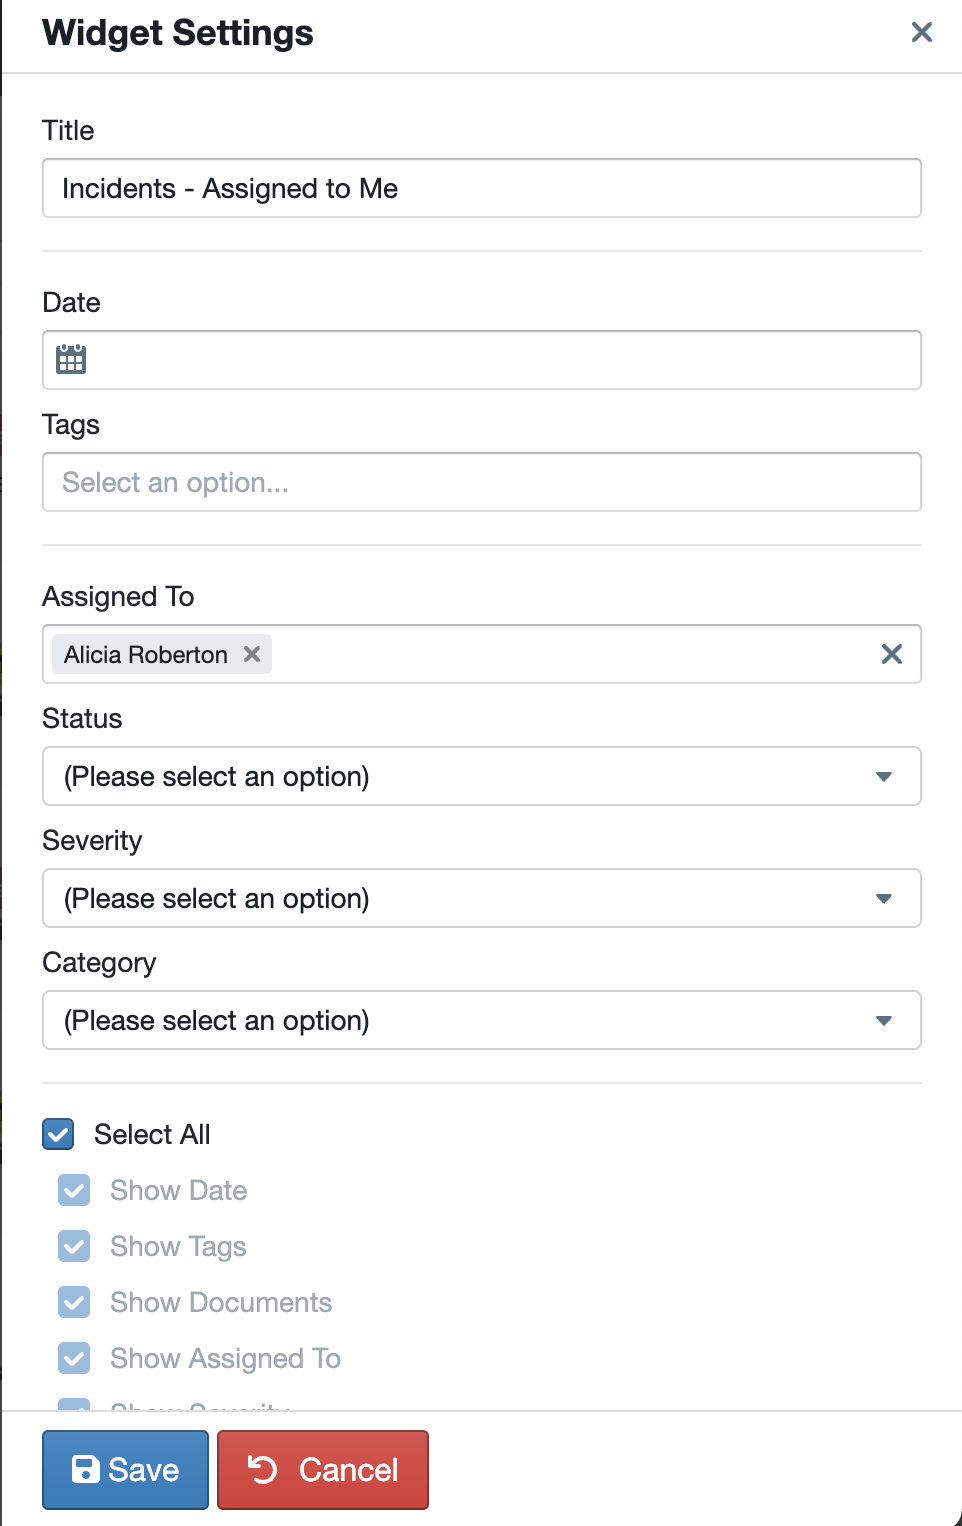
For example, if I wanted a widget to show all incidents currently assigned to me, I would rename the widget and select my name from the 'Assigned To' drop-down list, before clicking 'Save':
As another example, I could add a second widget to show any incidents with a 'Safety Hazard' tag that also had a 'New' status: