Creating a Custom Report
How to create a Custom Report
-
Getting Started Day To Day Management Managing Users Managing Multiple Schools The Dashboard The Template Editor Managing Staff Profiles Advanced Editor Insights and Reporting User Settings MIS Integration Troubleshooting and Support Safeguarding Guide What's New External Checks Sign In App Integration Incident Tracking
Table of Contents
Video Guide
Creating a Report
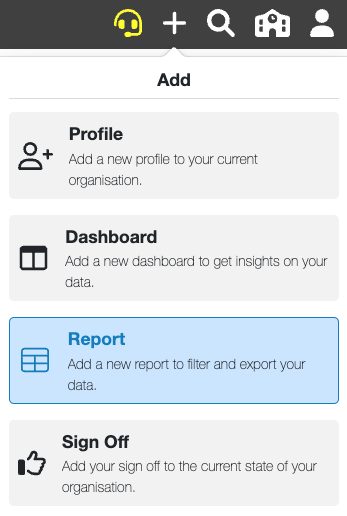
To create a new Custom Report click on the "+" icon in the top right corner of your Dashboard and select "Report":

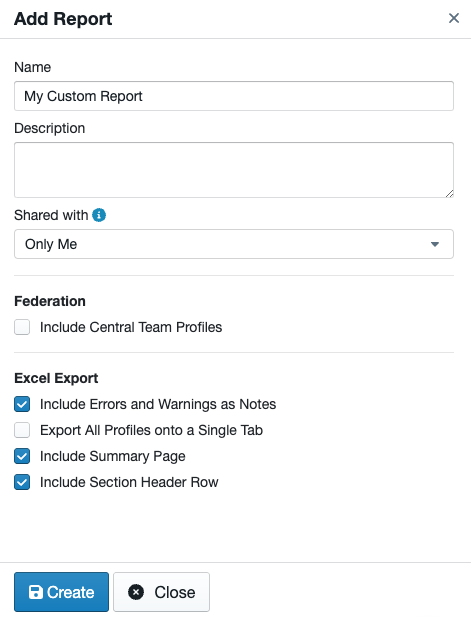
When you do so, an editing drawer will appear where you can rename and edit the settings.
Renaming and Customising Settings
From the editing drawer that appears when you add your new Report, you can rename and add a description of your Report if needed:

Sharing
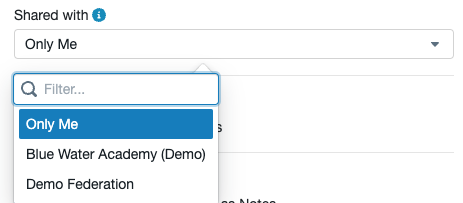
Using the "Shared With" drop-down down you can choose who will have access to your new Report:

"Only Me" - This will keep it as a personal Report that only you can access.
"School Name" - This will allow everyone within your School (who has reporting permissions) to have access to your new Report.
"Trust Name" - If you are part of a Trust this will allow everyone within your Trust (who has reporting permissions) to have access to your new Report.
Please Note: If you share this Report across your School or Trust, anyone with permission to edit Reports can make and save changes to your Report.
Settings
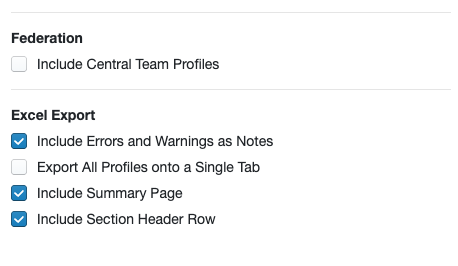
From the Report editing drawer, you will also be able to choose whether to include certain information:

Federation: If you are part of a Trust, selecting this will include your Central Team Profiles in your new Report.
Excel Export: Select, or De-Select these options based on what you would like your exported Excel to show.
When you are happy, click "Create" to build your new Report. Now you can Customise your Report.
