Upcoming Expiration Dates Report
How to read and use your Upcoming Expiration Date Report
-
Getting Started Day To Day Management Managing Users Managing Multiple Schools The Dashboard The Template Editor Managing Staff Profiles Advanced Editor Insights and Reporting User Settings MIS Integration Troubleshooting and Support Safeguarding Guide What's New External Checks Sign In App Integration Incident Tracking
Table of Contents
The Upcoming Expiration Dates Report will show you live, up-to-date, colour-coded lists of your Expiration Dates.
The Report will show the Staff Member's name, Profile Type and which check is expired/expiring.

You can filter this Report by Profile Type and Tag by using the filter bar along the top of the Report:

On the left-hand side of the Report, you can choose from:
- Expired: A list of Profiles that have expired checks.

- Expiring this month: A list of Profiles that have checks expiring in the current month.

- Expiring next month: A list of Profiles that have checks expiring next month.

You can open a Profile Page directly from this Report by clicking on the Profile from the list.
When you export this Report to Excel, the expired and expiring checks will be displayed on separate tabs.
Further Customisation
We have recently updated this report so that you can also add your own customised date ranges. For example, if you would like a report that shows any training due, 6 months in advance.
Firstly, make a duplicate copy of the default report as below:

Scroll down and click 'View' to open your copy:

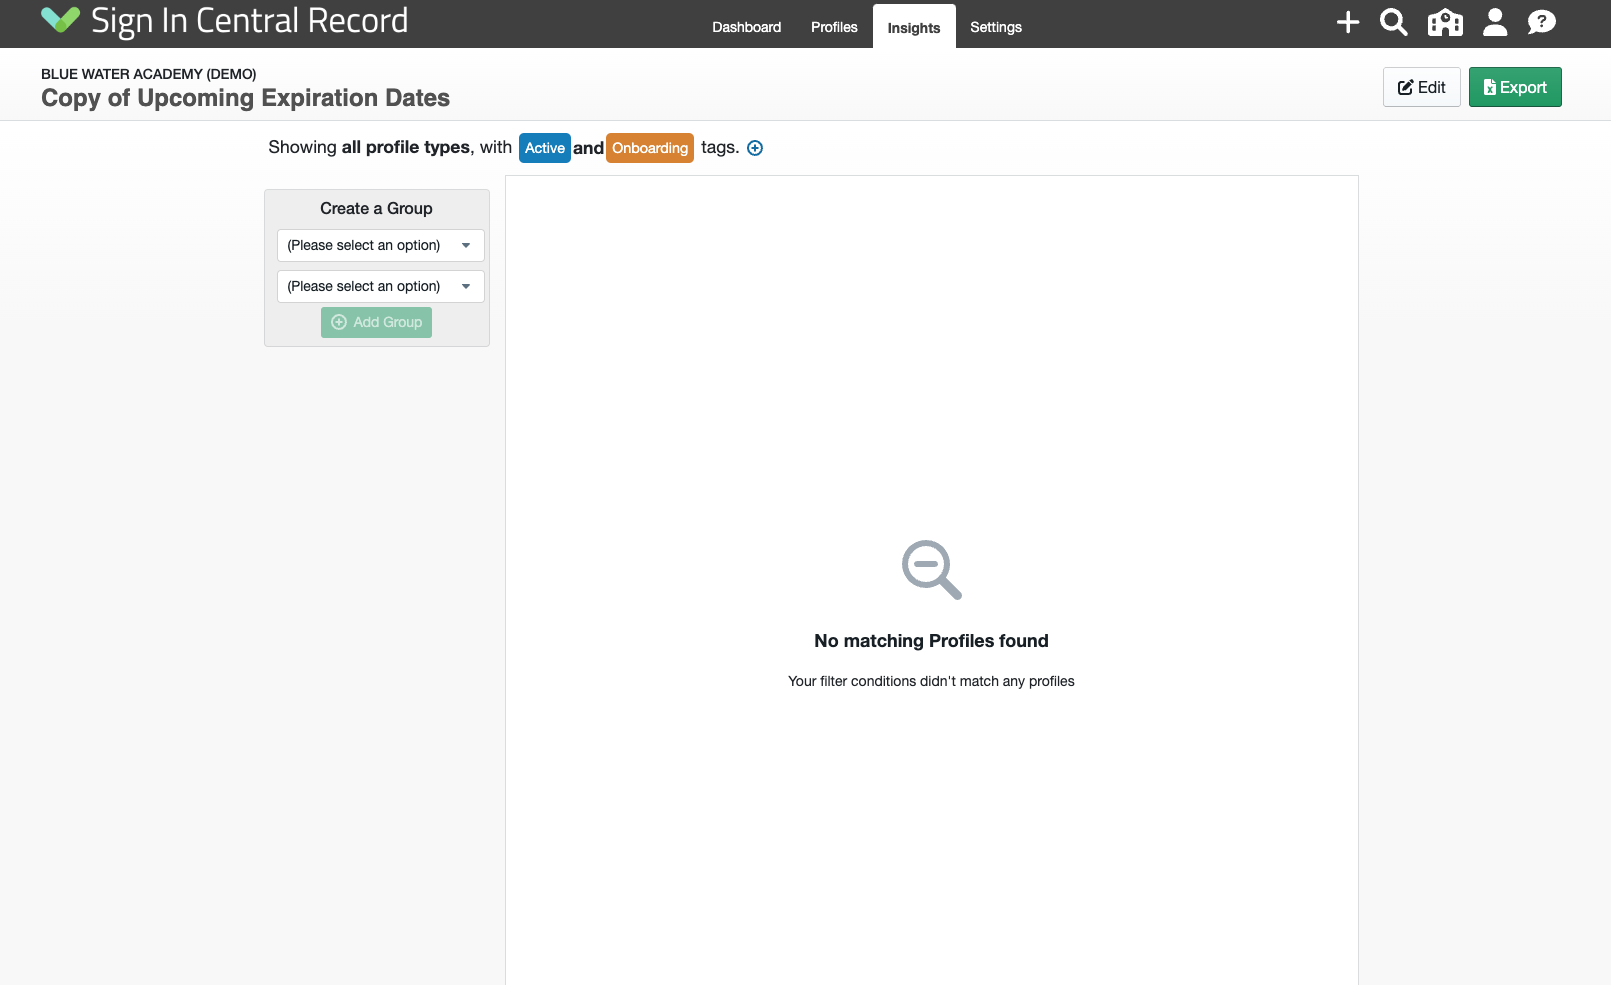
You will be presented with a blank report:

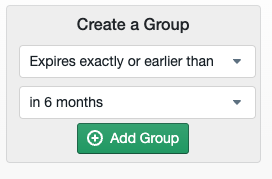
Click the drop-down options to create a group of your choice. In the below example, I have selected to view any expiry dates expiring exactly or earlier than in 6 months' time:

Then select 'Add Group' to be presented with a list of profiles that match this criteria:

You can filter the report further by using the 'Select Fields' option at the top of the report. In this example, I have used my 'First Aid Training Expiry Date' field to filter what I'd like to see on the report:

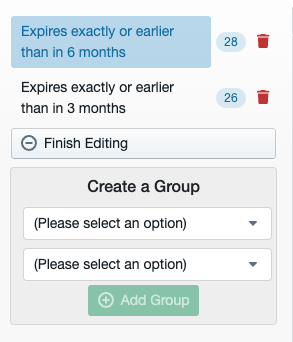
You can add as many groups as needed, by clicking the 'Edit' button on the left-hand side of the report to add further groups. Once you have added your additional groups, click 'Finish Editing':

You can filter this report further if needed by using the filter bar at the top, where you can filter by profile type, tag, and rating:

You can also use the 'Edit' button in the top right-hand corner of the report to change the Name, Description, who the report is shared with:

