Customising your Dashboard
How to add and customise Widgets on your Dashboard
-
Getting Started Day To Day Management Managing Users Managing Multiple Schools The Dashboard The Template Editor Managing Staff Profiles Advanced Editor Insights and Reporting User Settings MIS Integration Troubleshooting and Support Safeguarding Guide What's New External Checks Sign In App Integration Incident Tracking
Table of Contents
The Default Dashboard
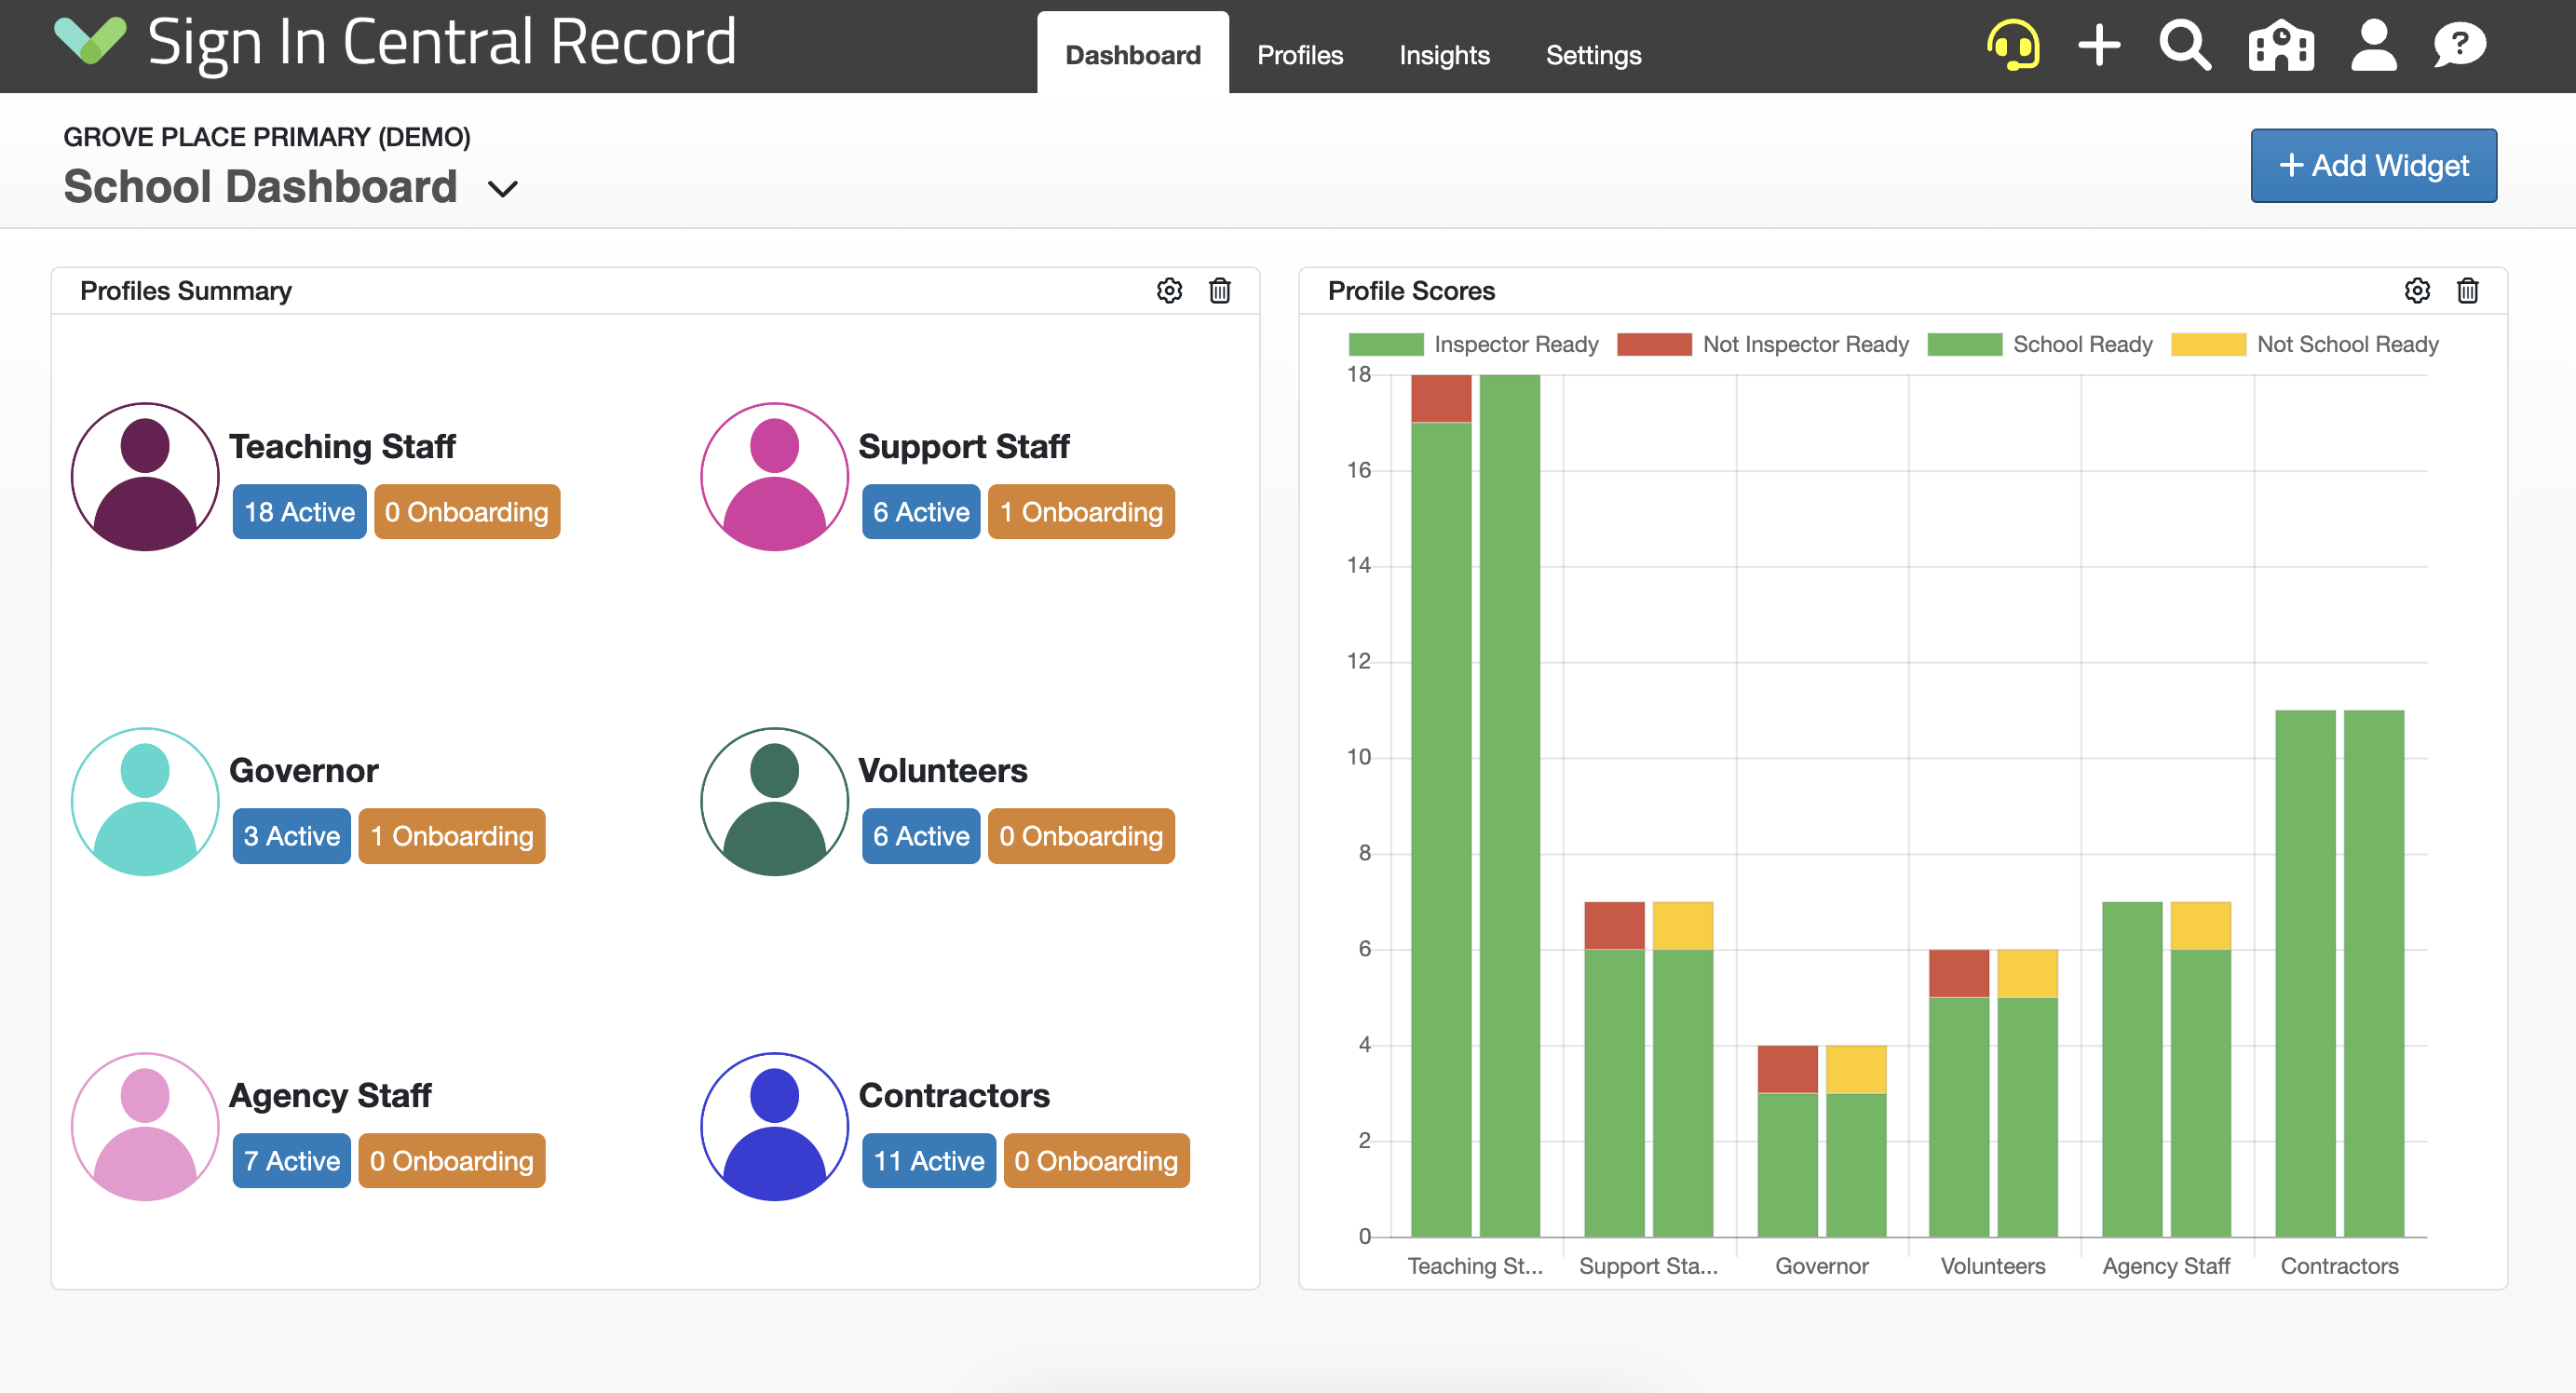
Your default Dashboard will look like this when you log in for the first time however you can customise it to suit your needs.
Adding Widgets
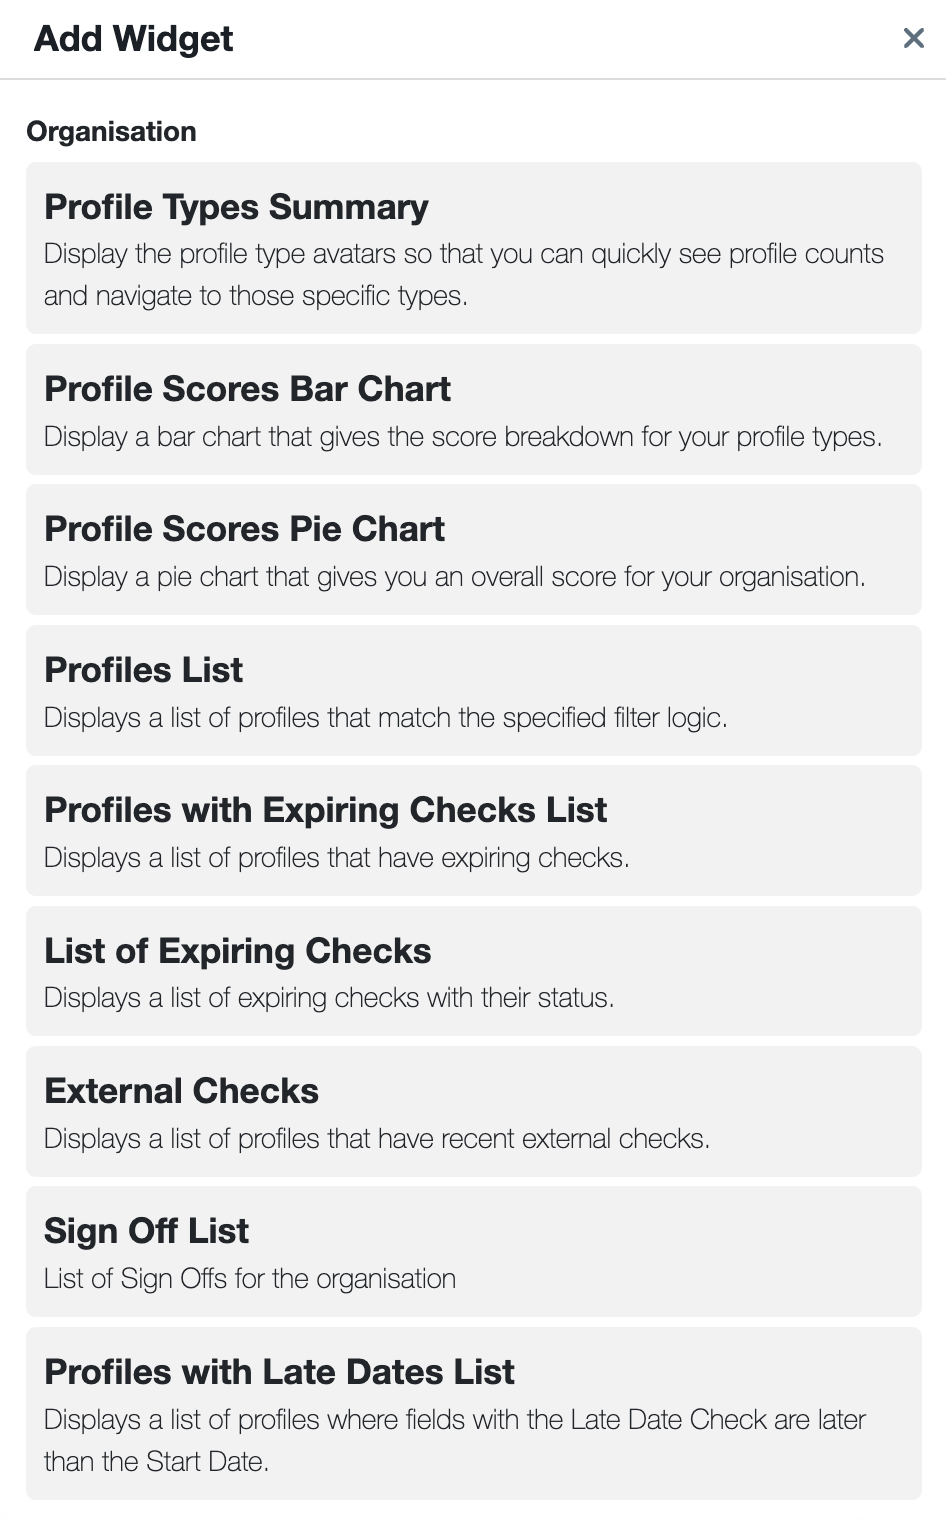
To add custom widgets to your Dashboard click on the Add Widget button located in the top right corner of your Dashboard. You will then be shown options for all of the different Widgets that you can add. Simply click on the one you'd like and it will be added to your School Dashboard.
Editing Widgets
On each widget, there will be a Settings and Delete icon:

You can remove a widget by pressing delete and confirming the action.
Clicking the Settings icon will bring up the individual settings for that widget. Here you will be able to rename the Widget, choose whether to include an Avatar, Start/Leave Dates and choose which Tags and Profiles to include:
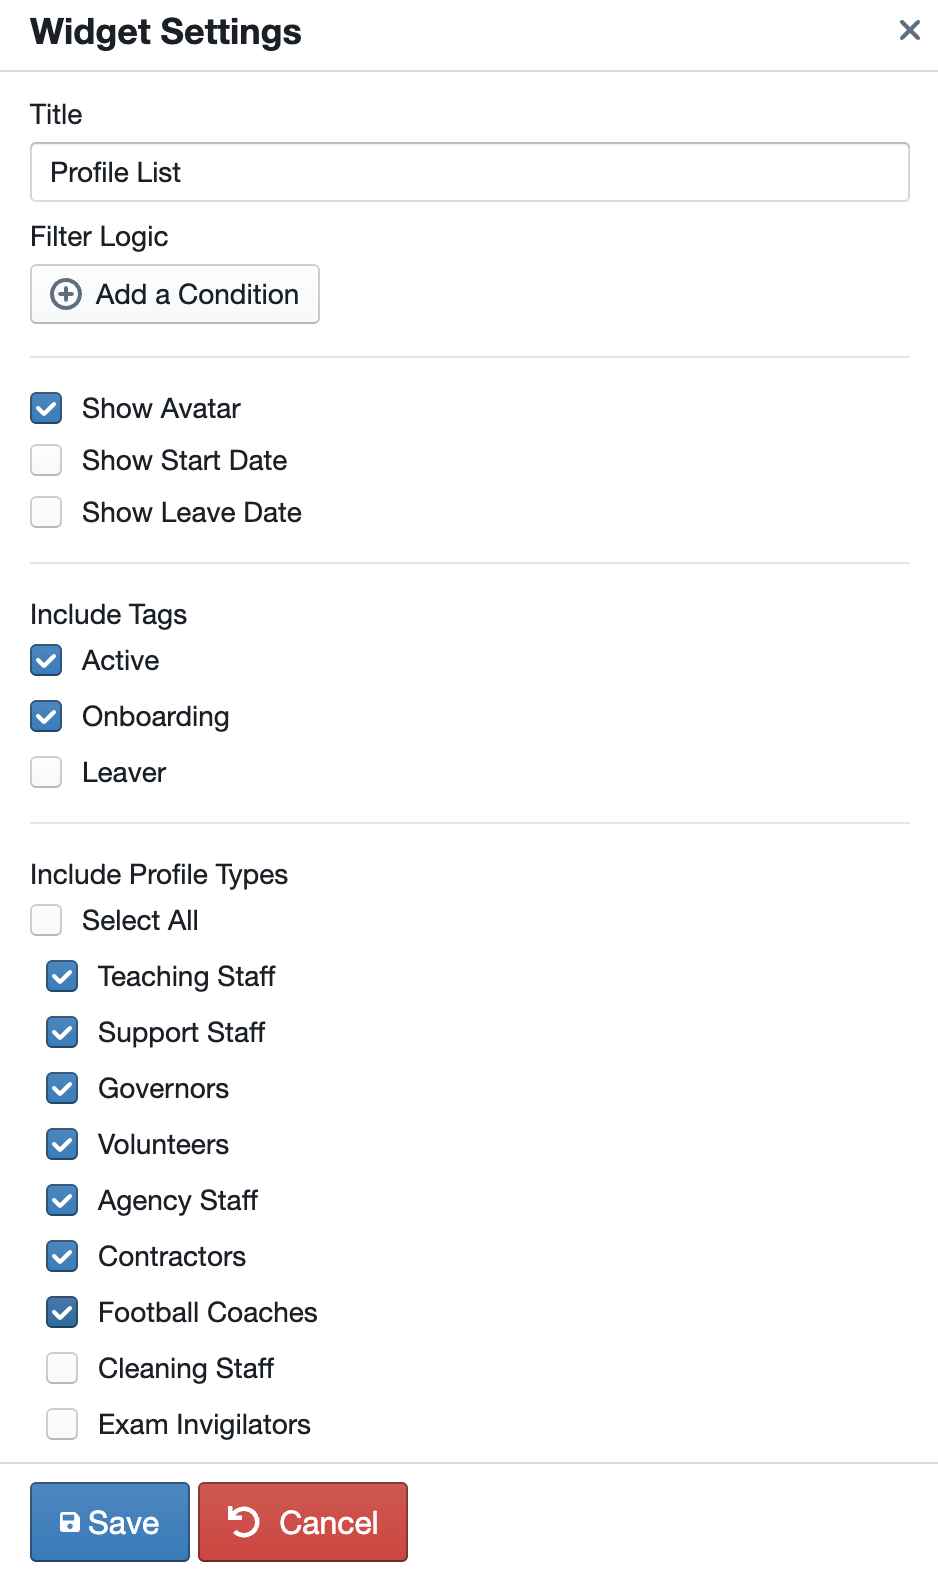
Clicking save will immediately update your widget.
Types of Widget
- Profile Types Summary Widget
This Widget will appear by default and displays the profile type avatars so that you can quickly see profile counts and navigate to those specific types.
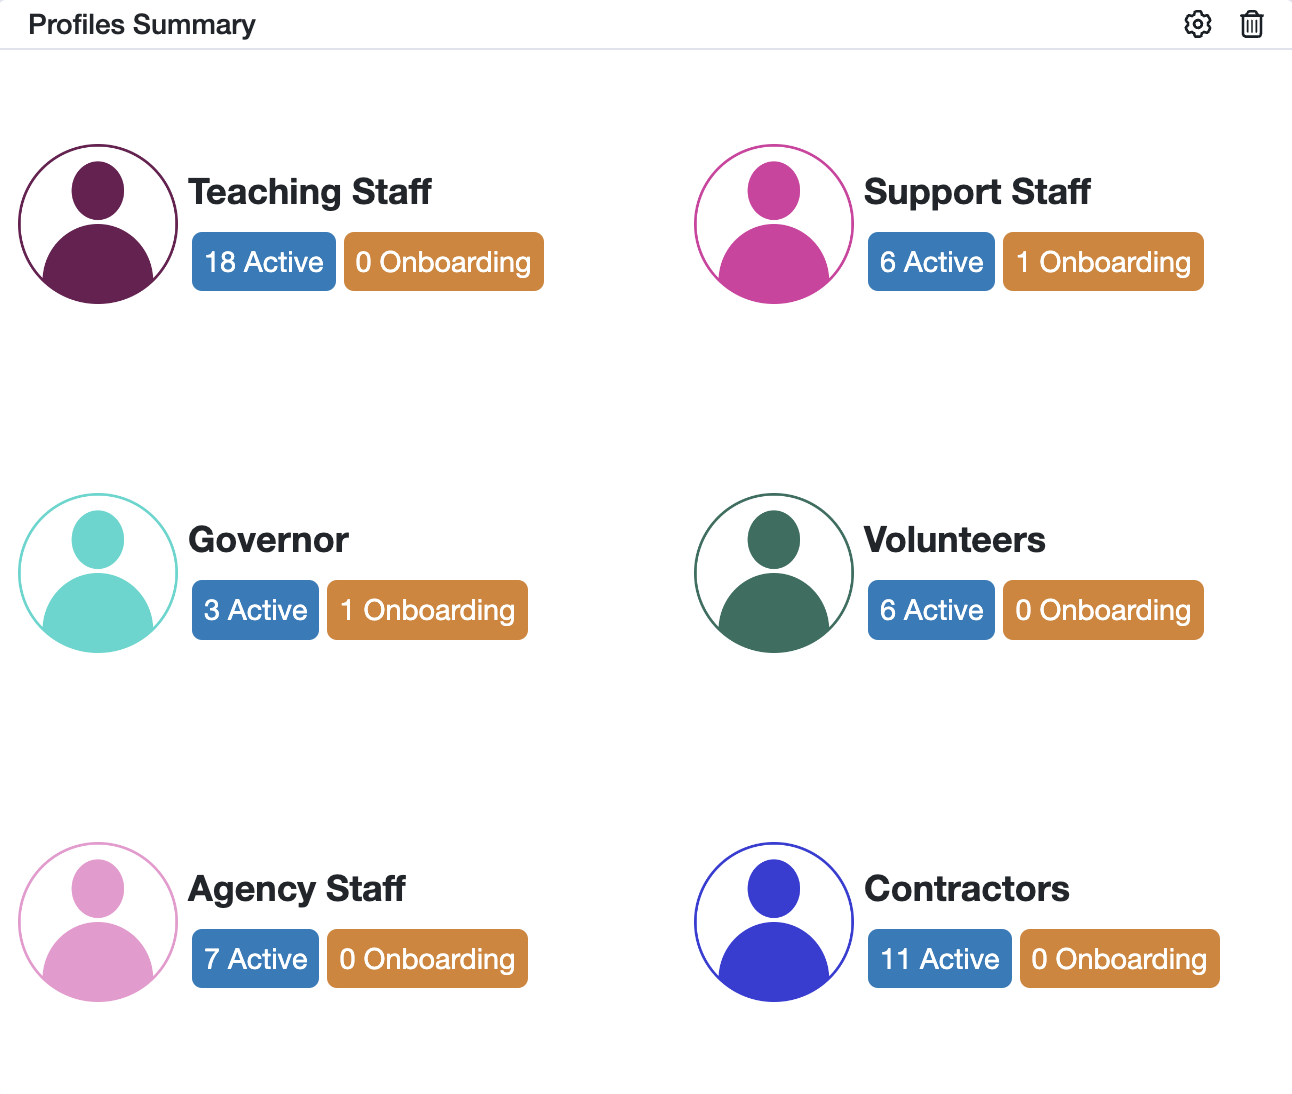
In settings, you will be able to choose which profile types and tags are shown on the widget.
- Profile Scores Bar Chart Widget
This Widget will appear by default and displays a Bar Chart that gives the score breakdown for your profile types.
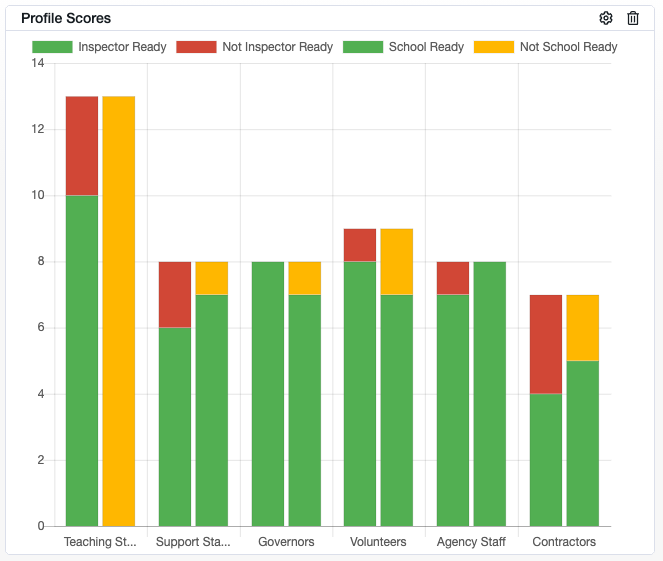
In settings, you will be able to choose which tags, profile types and rating systems are shown on the widget.
- Profile List Widget
This Widget allows you to scroll through a list of all Staff profiles and open profiles from the dashboard.
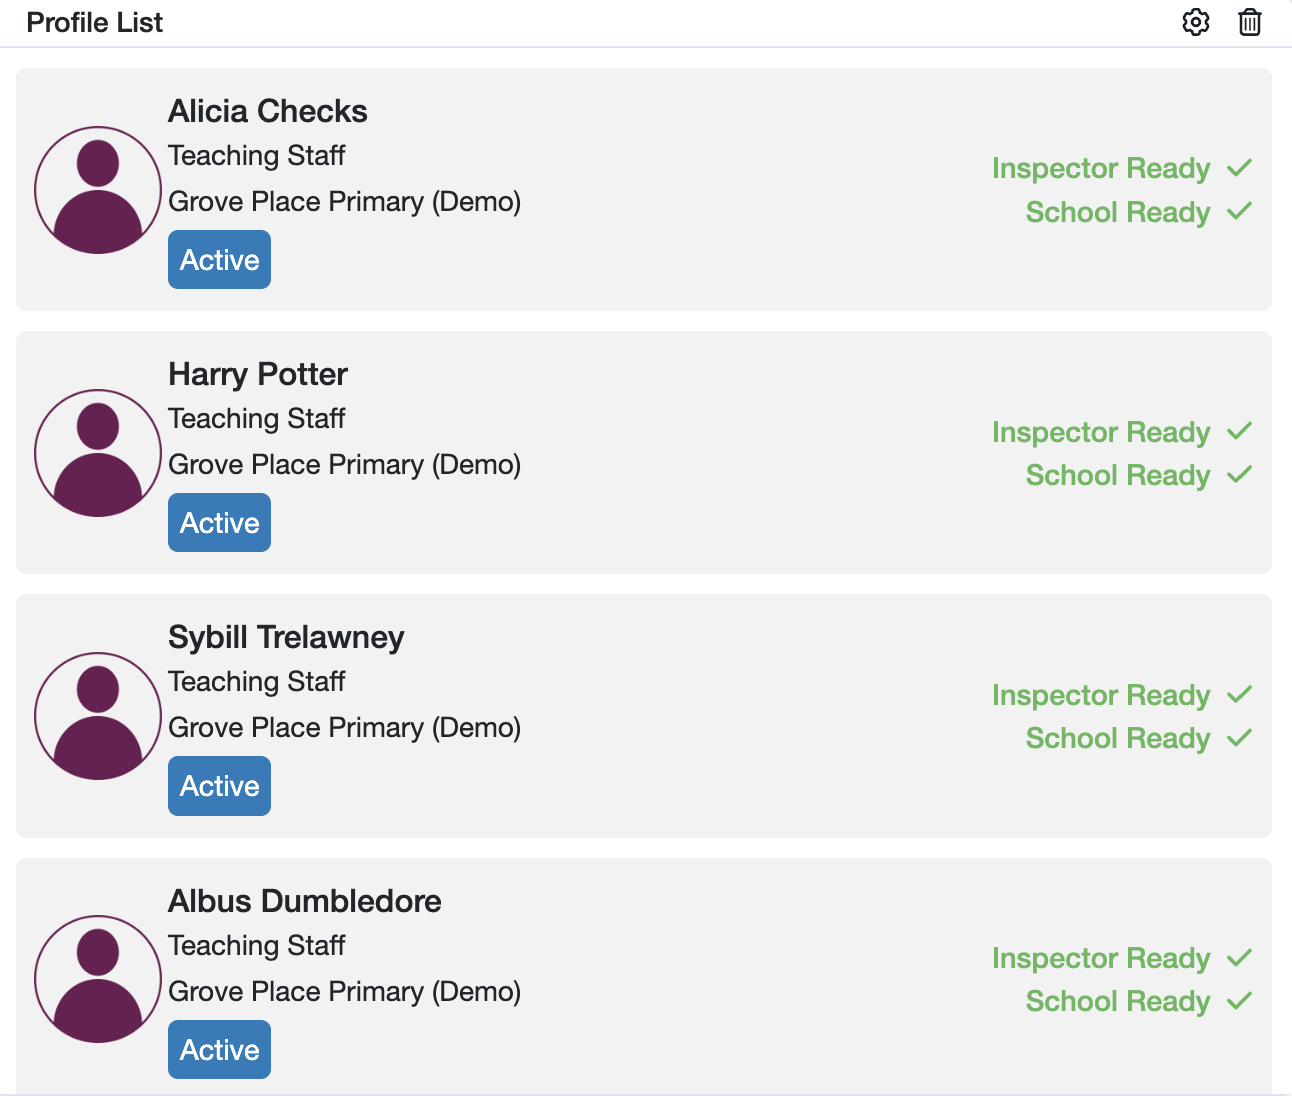
In settings, you will be able to choose which tags, profile types and rating systems are shown on the widget. You can set Filter Logic Conditions that will determine which Profiles appear in the Widget, which makes things like searching for incomplete Profiles from the dashboard quick and simple.
For more information on our conditions logic, please see our help guide on Visibility and Filter Logic Editing.
- Profile Scores Pie Chart Widget
This Widget displays a pie chart that shows an overall score for your organisation.
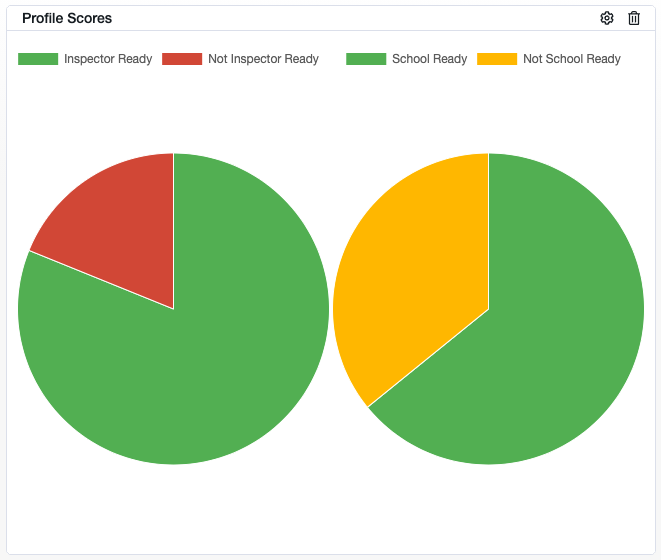
In settings, you will be able to choose which tags, profile types and rating systems are shown on the widget.
- Profiles with Expiring Checks List Widget
This Widget will display a list of all Profiles that have expiring checks in chronological order.
If a check has expired it will be displayed in red, if it has an upcoming expiry date within 2 weeks, it will be displayed in amber. Expired dates will be listed first.
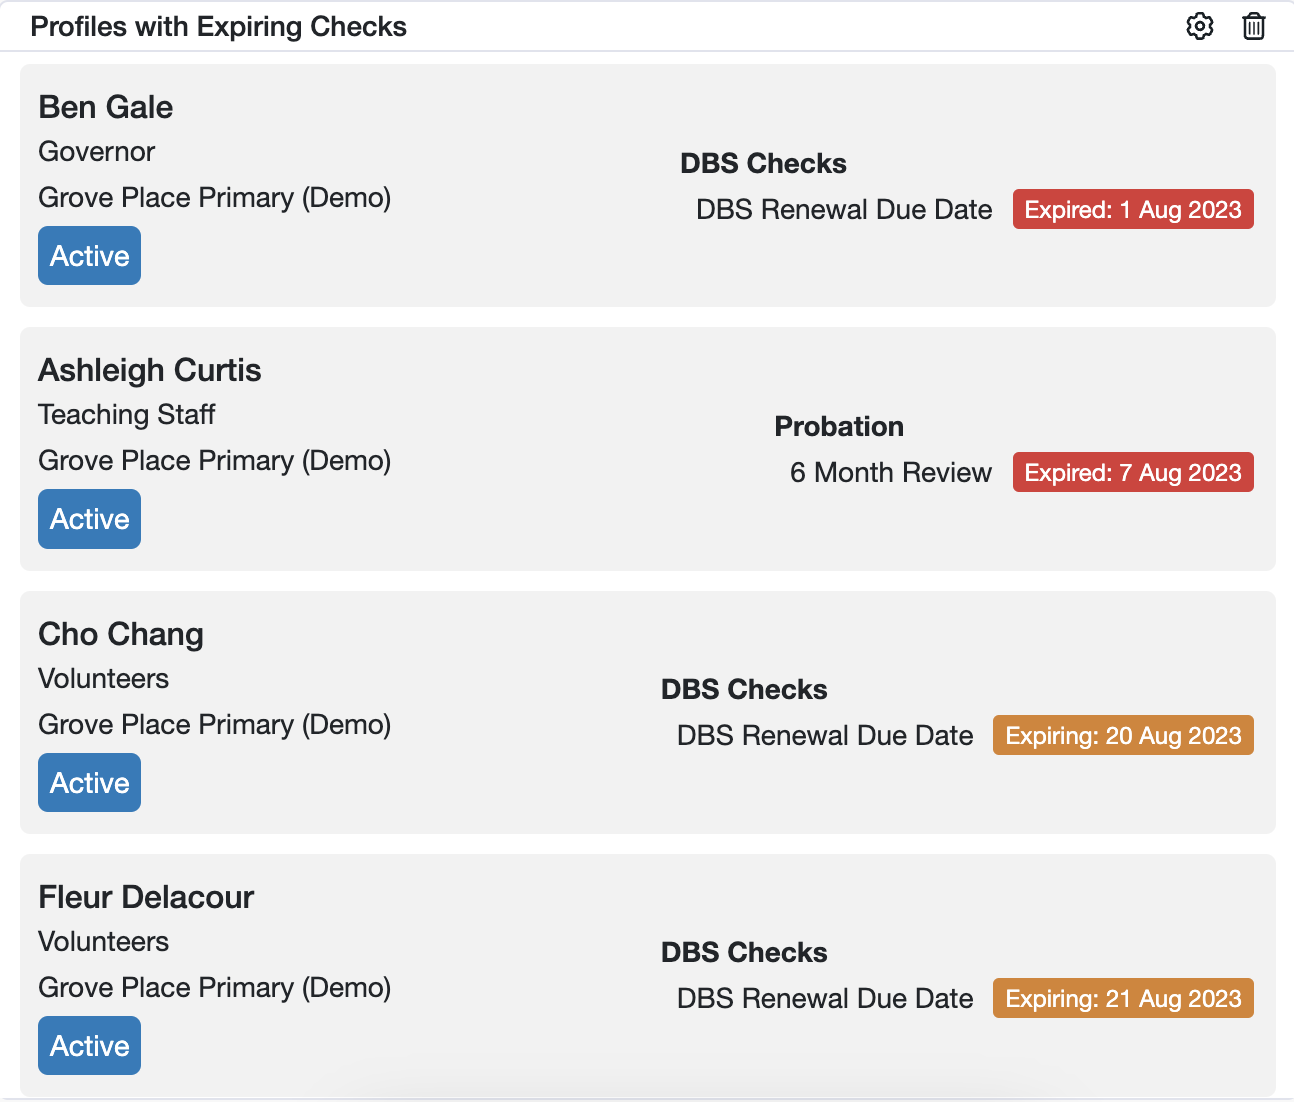
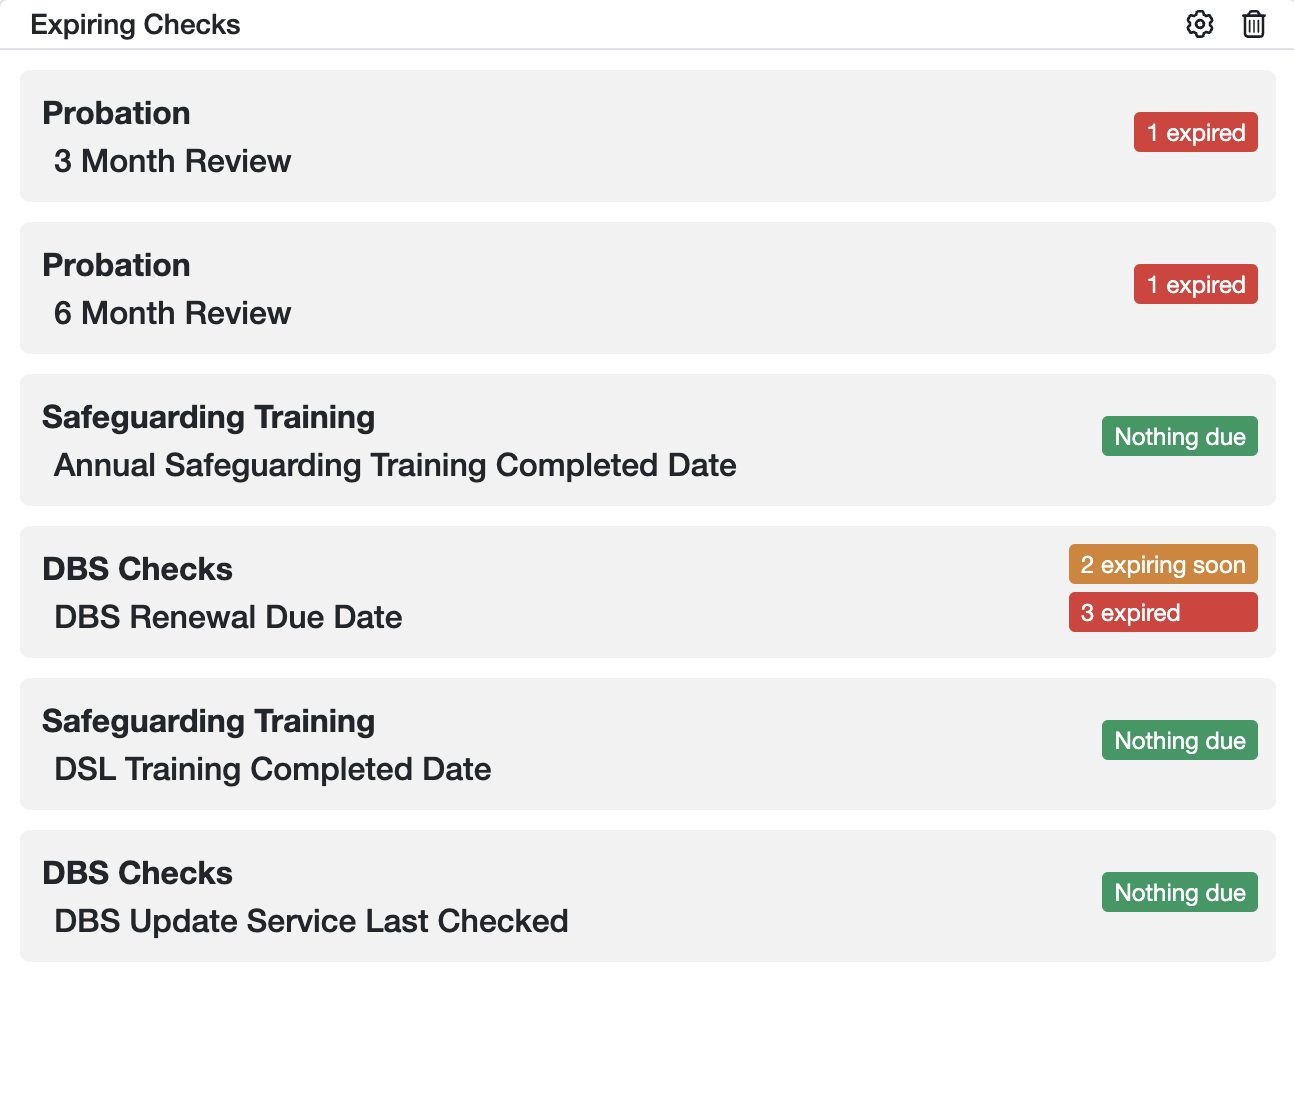
- List of Expiring Checks Widget
This Widget displays a list of all checks that have an expiry date and their status.
If a check has expired it will be displayed in red, if it has an upcoming expiry date within 2 weeks, it will be displayed in amber.
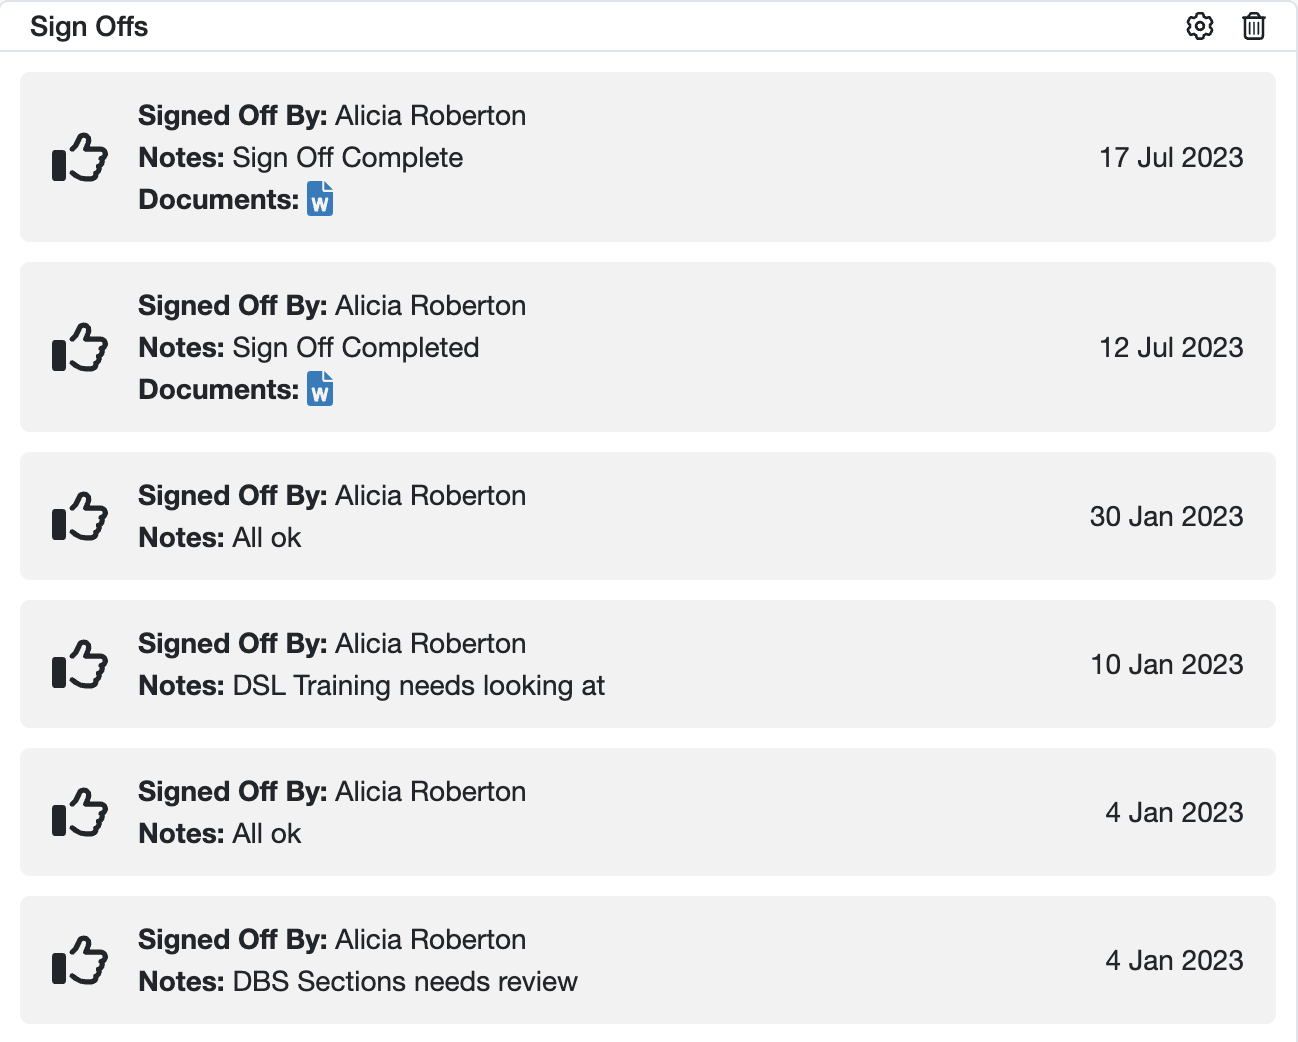
- Sign Offs Widget
A list of sign-offs for the Organisation.
This will include who carried out the sign-off and when, any notes added, and also if a document was attached to the sign-off.
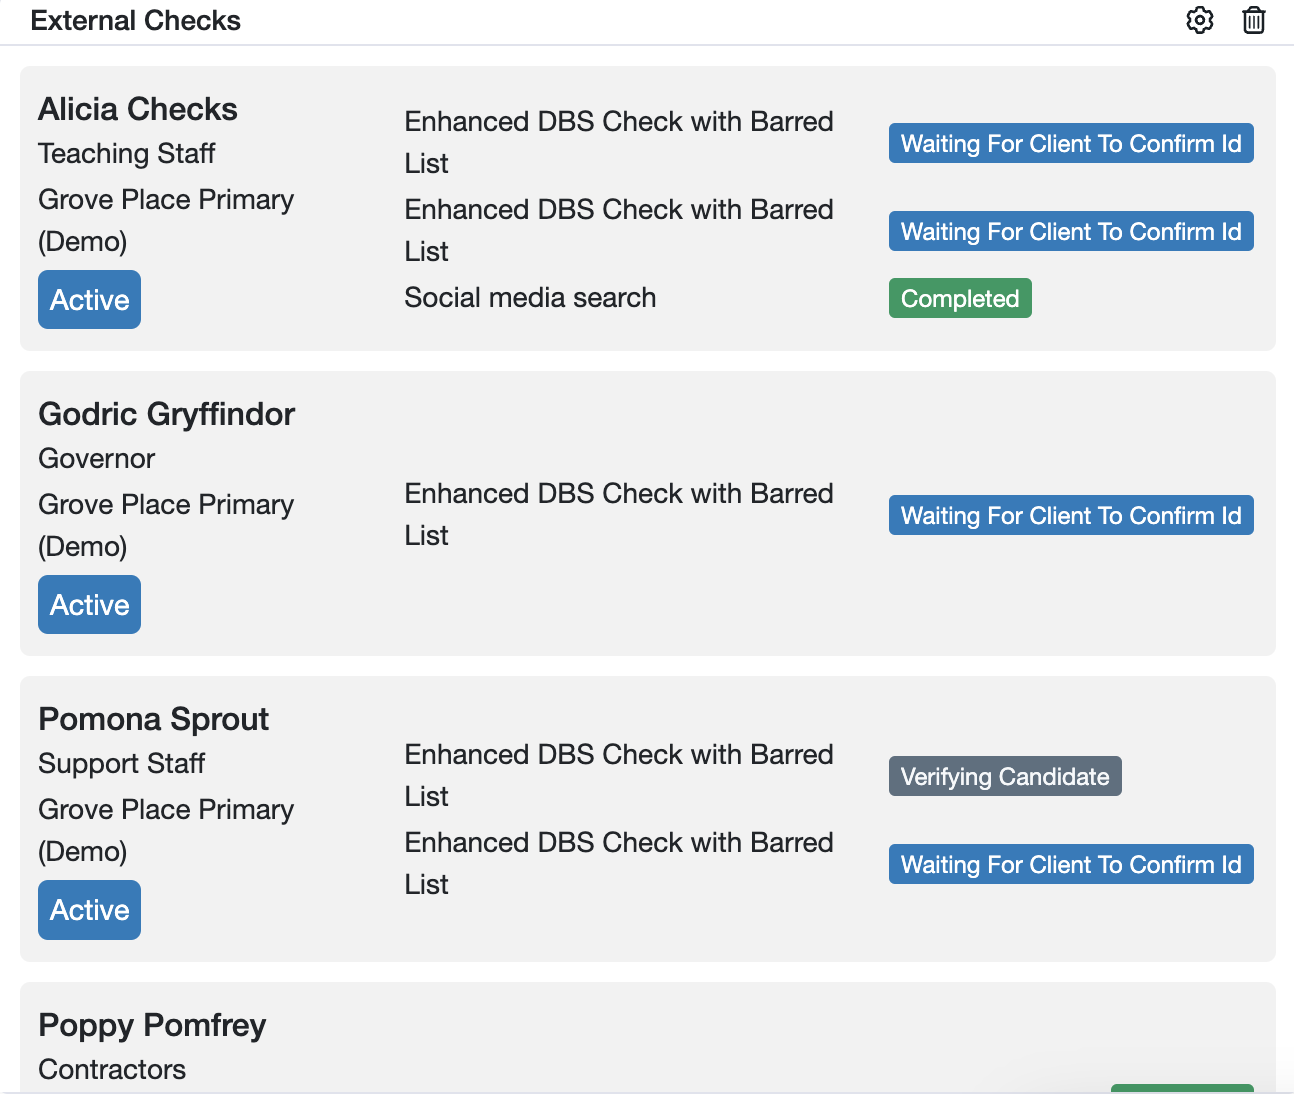
- External Checks
Displays a list of profiles that have had an external check ordered within the last 2 weeks. This will also show the name of the check ordered and the current status of the check.
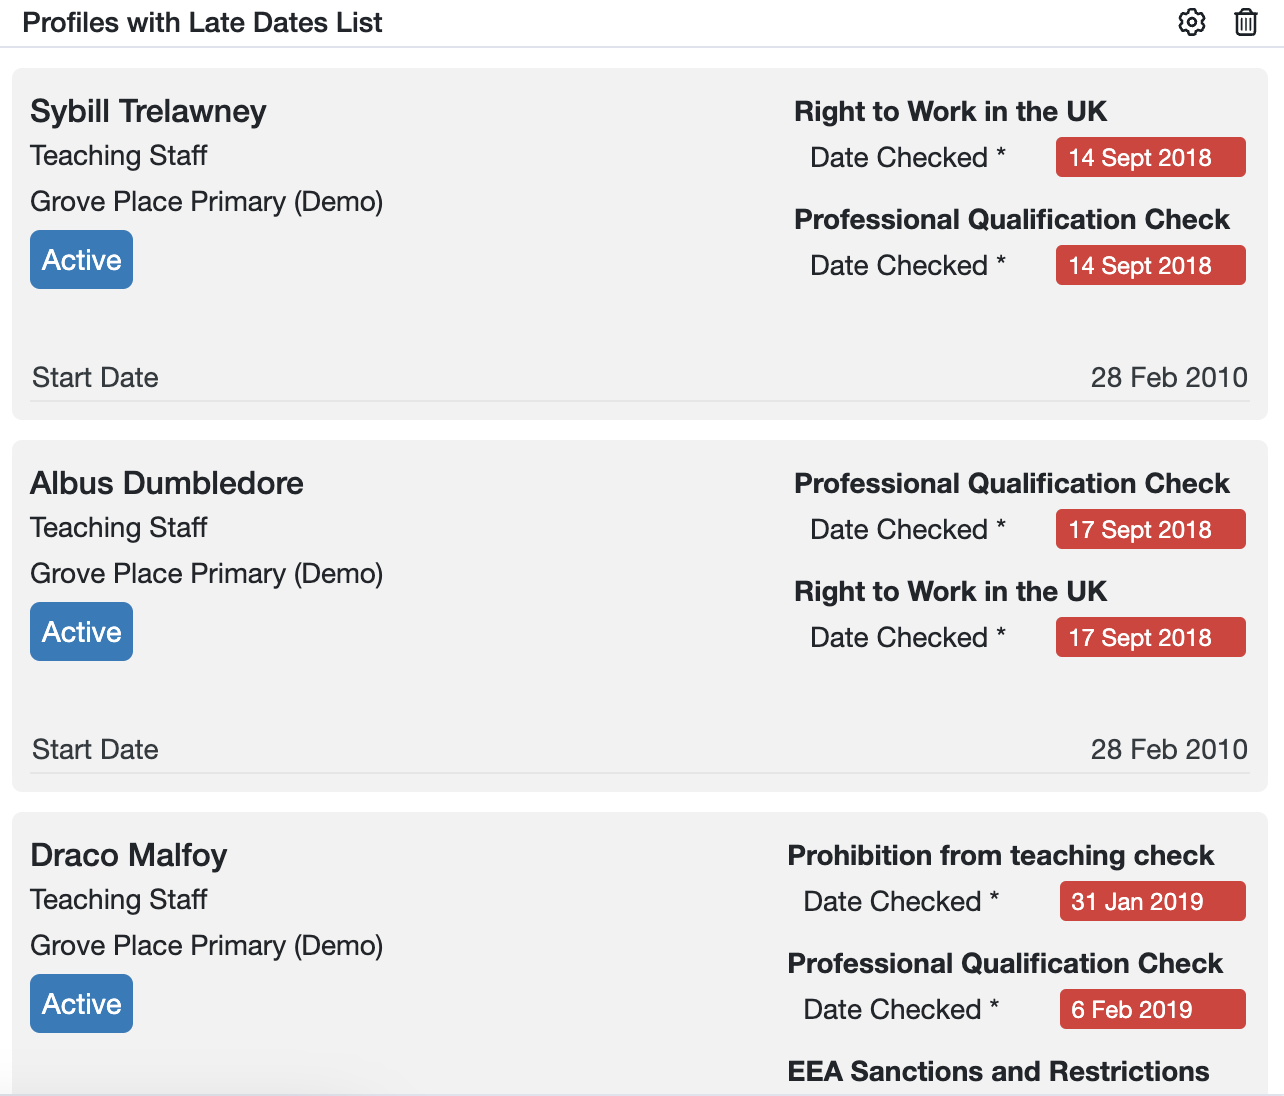
- Profiles with Late Dates List
Displays a list of profiles that have a Late Date warning.
Custom Widgets
You could use the Profile List Widget and Filter Logic Conditions within the setting for this to create a custom widget. As an example, you could set up a custom widget to show any Upcoming Birthdays.
To set this up you will need to add a Profile List Widget and use the settings to customise as below:
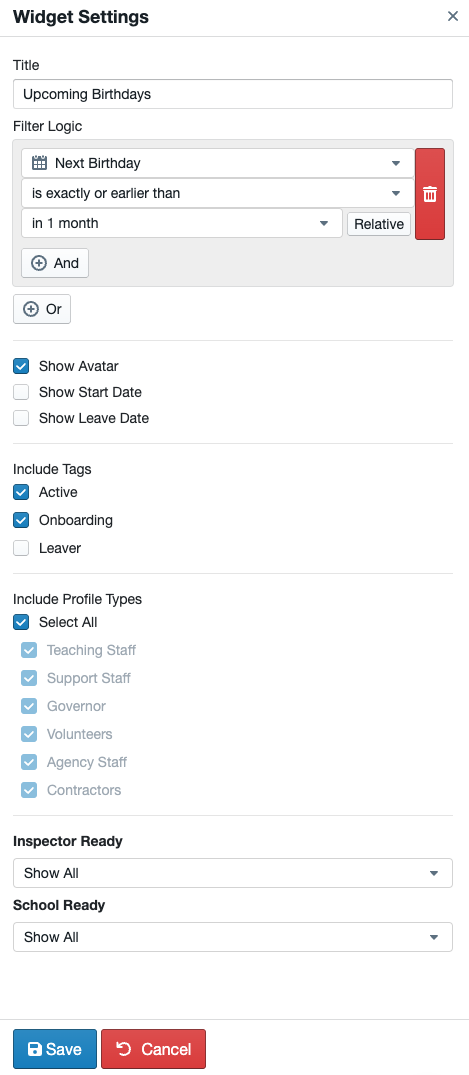
You can of course customise this to suit what you want to show and even add multiple versions of this to the Dashboard if you wish.
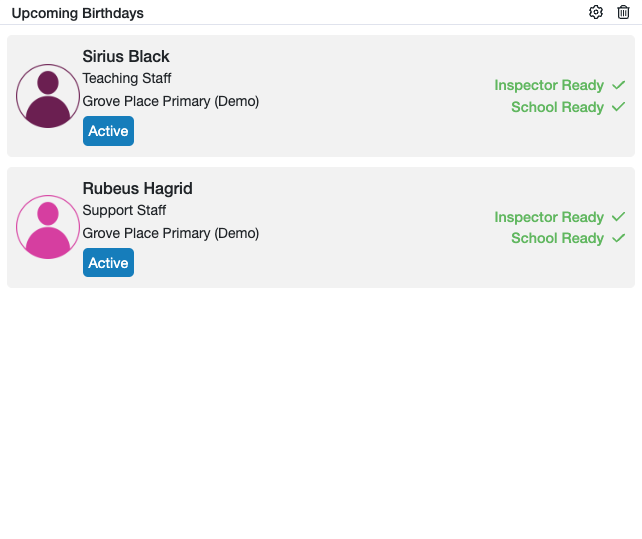
Once you have finished making changes, click Save. This will now display all Profiles that have a birthday within the next month:
Moving Widgets
Once you have chosen which Widgets you would like displayed on your Dashboard you can move them around by clicking the Header bar and dragging them.
