Customising your new Custom Report
How to customise the Sections, Fields and columns within your newly created Custom Report
-
Getting Started Day To Day Management Managing Users Managing Multiple Schools The Dashboard The Template Editor Managing Staff Profiles Advanced Editor Insights and Reporting User Settings MIS Integration Troubleshooting and Support Safeguarding Guide What's New External Checks Sign In App Integration Incident Tracking
Table of Contents
Video Guide
Custom Report
Note: Please first see our guide on Creating a Custom Report
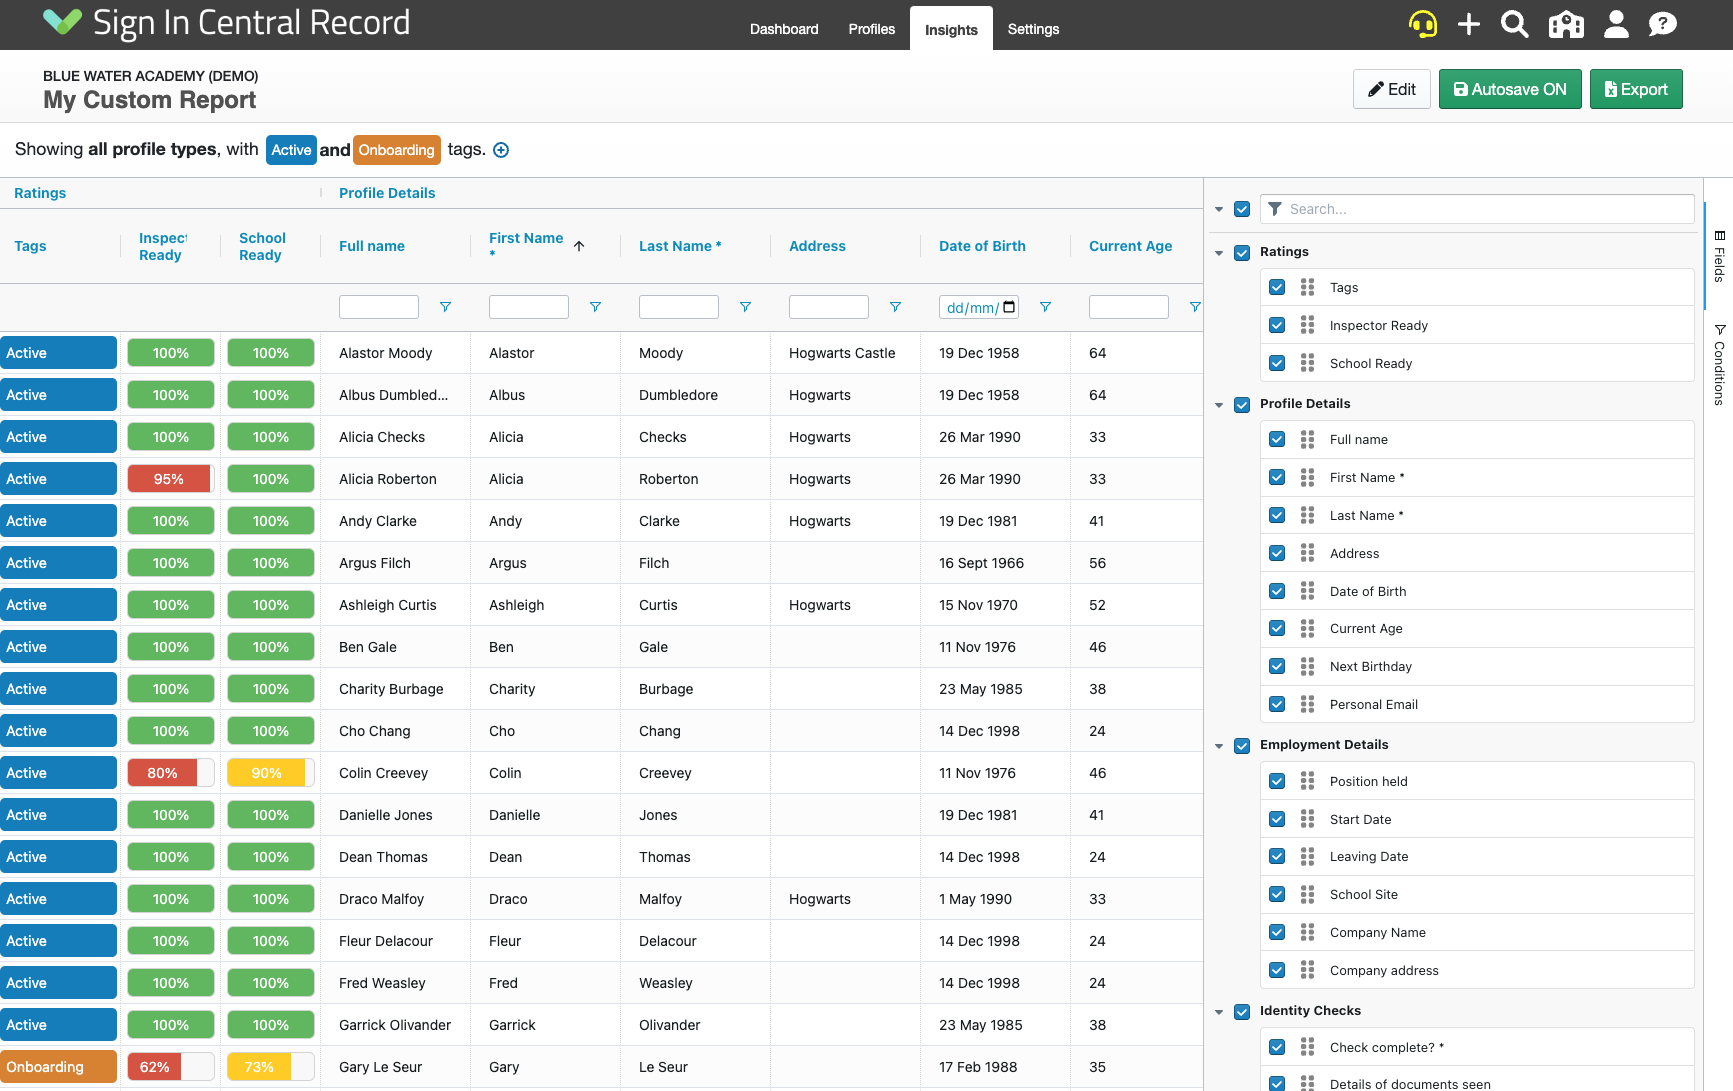
Once you have clicked "Create", your new Custom Report will open.
You will notice that to start with this Report will show everything including all Profile Types, all Sections and all Fields:
AutoSave
You will notice that on any Custom Reports, the AutoSave function is set to "On" by default.

This means that any changes you make while editing this Report will be automatically saved as you go.
Customising the Sections and Fields
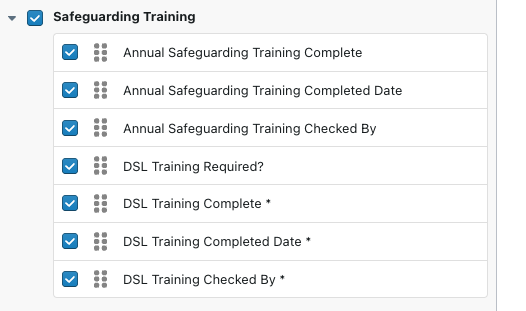
To choose which Sections and Fields you'd like to view on your Report you can use the Filter Bar on the right-hand side to select/deselect your chosen Fields.
In the below example, you can see that only the Staff Training Section has been selected, along with Tags, First and Last names:

You could also use the filter bar at the top of the Report to choose which Profile Types and Tags you would like to view, and also if you would like to filter by rating system.
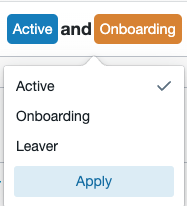
Click 'all profile types' to un-tick any that you do not want to be shown in the report as below, and then click 'Apply':

Click the 'Tags' to select or de-select the tags, and then click 'Apply':
If you need to filter by rating system, click the '+' symbol to filter by Inspector or School Ready:

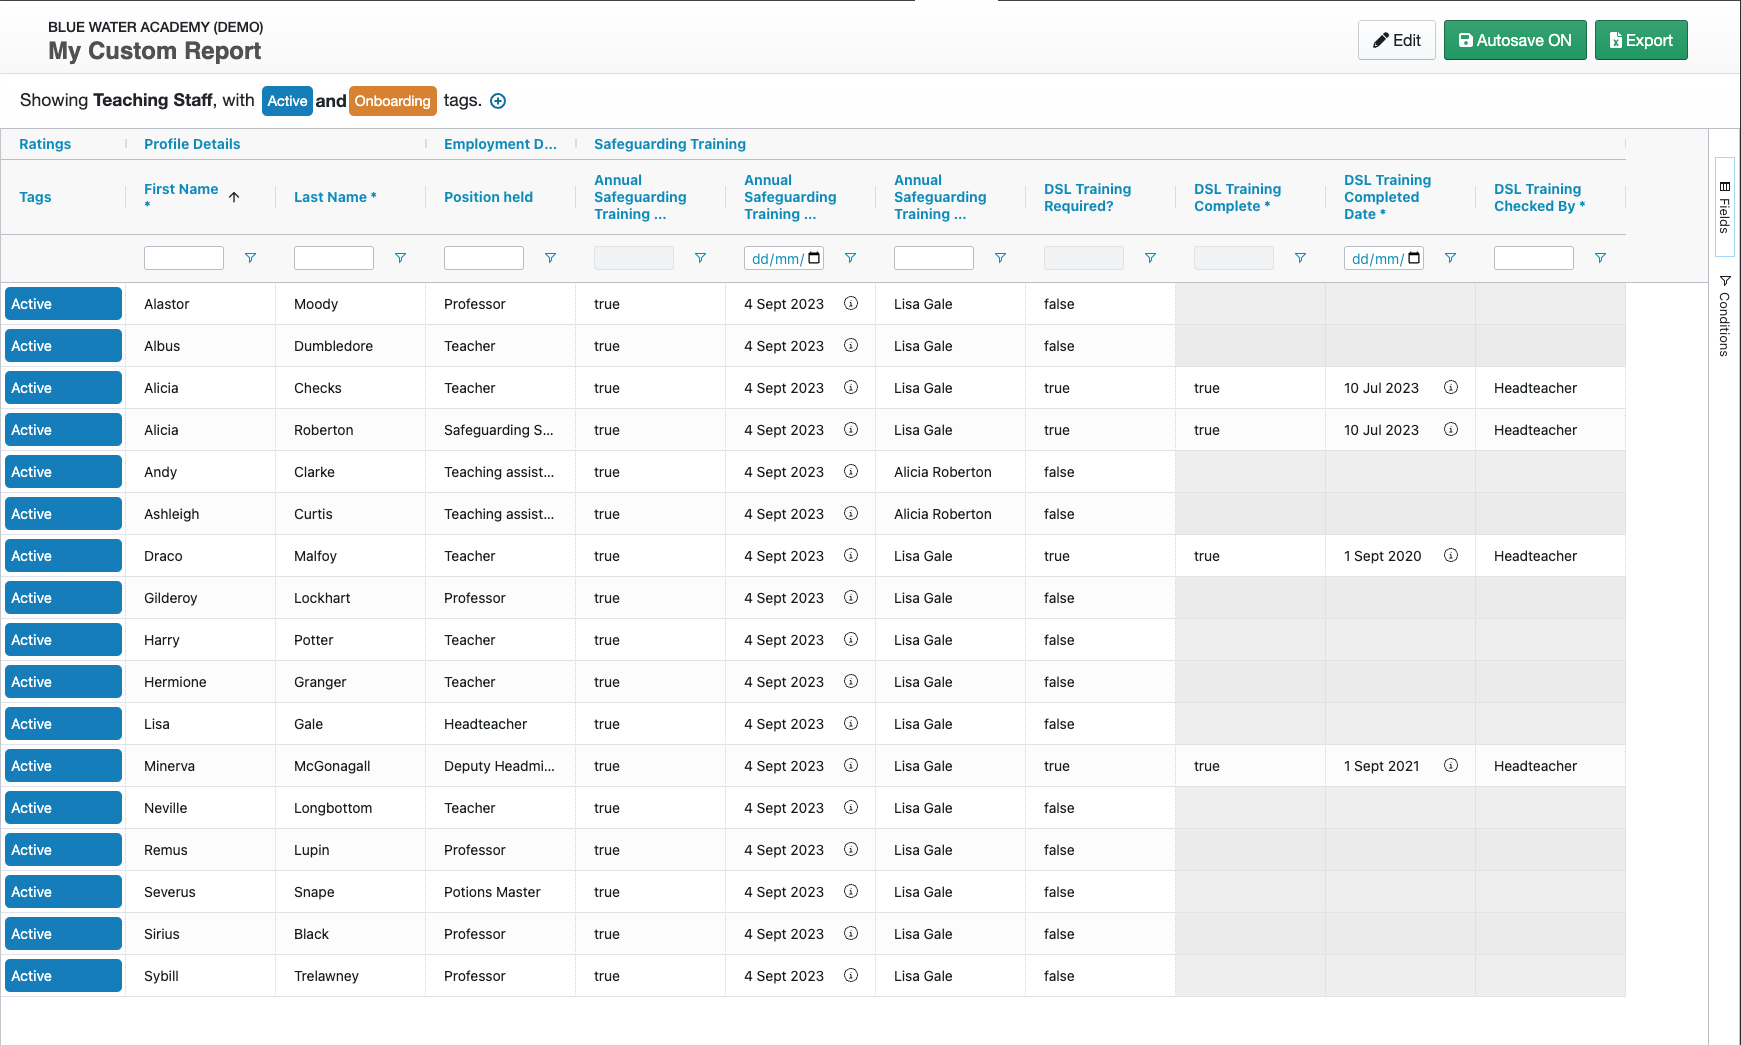
The below example shows a filtered report, showing any Safeguarding Training for Teaching Staff with an 'Active' or 'Onboarding' tag:
Reordering Columns
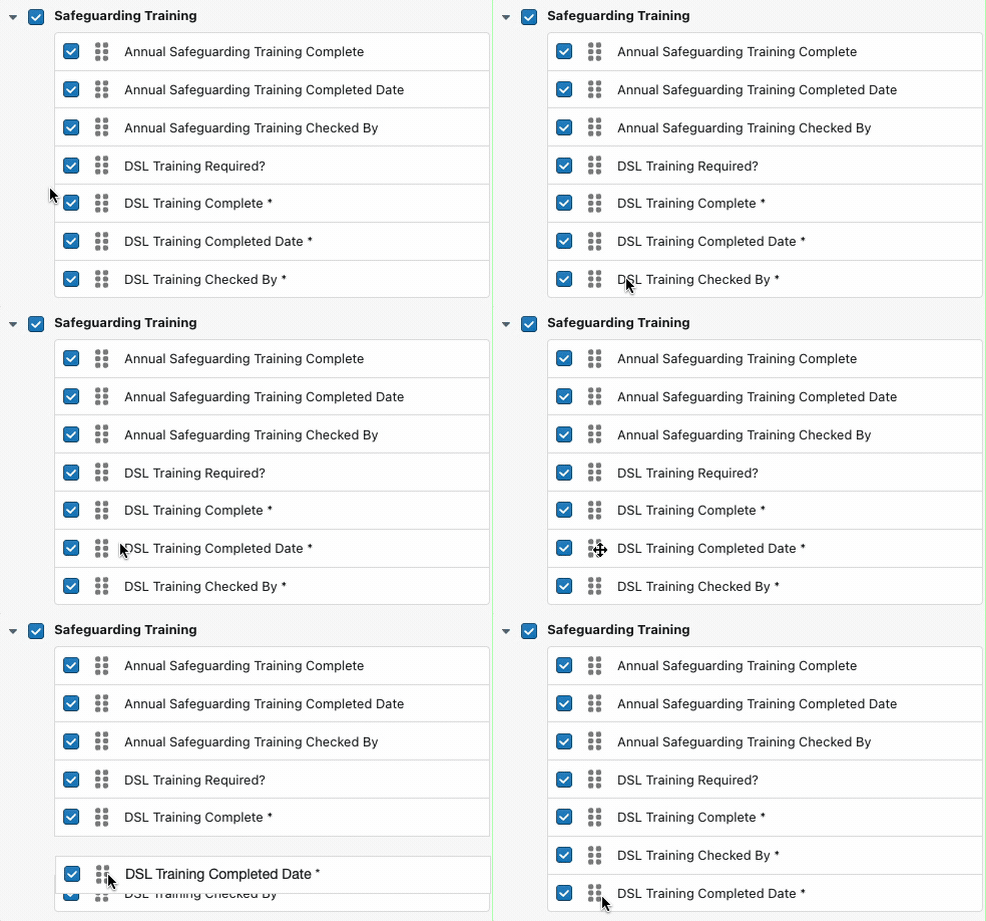
You can reorder the columns by dragging and dropping the fields from within the Filter Bar:
Reordering Sections
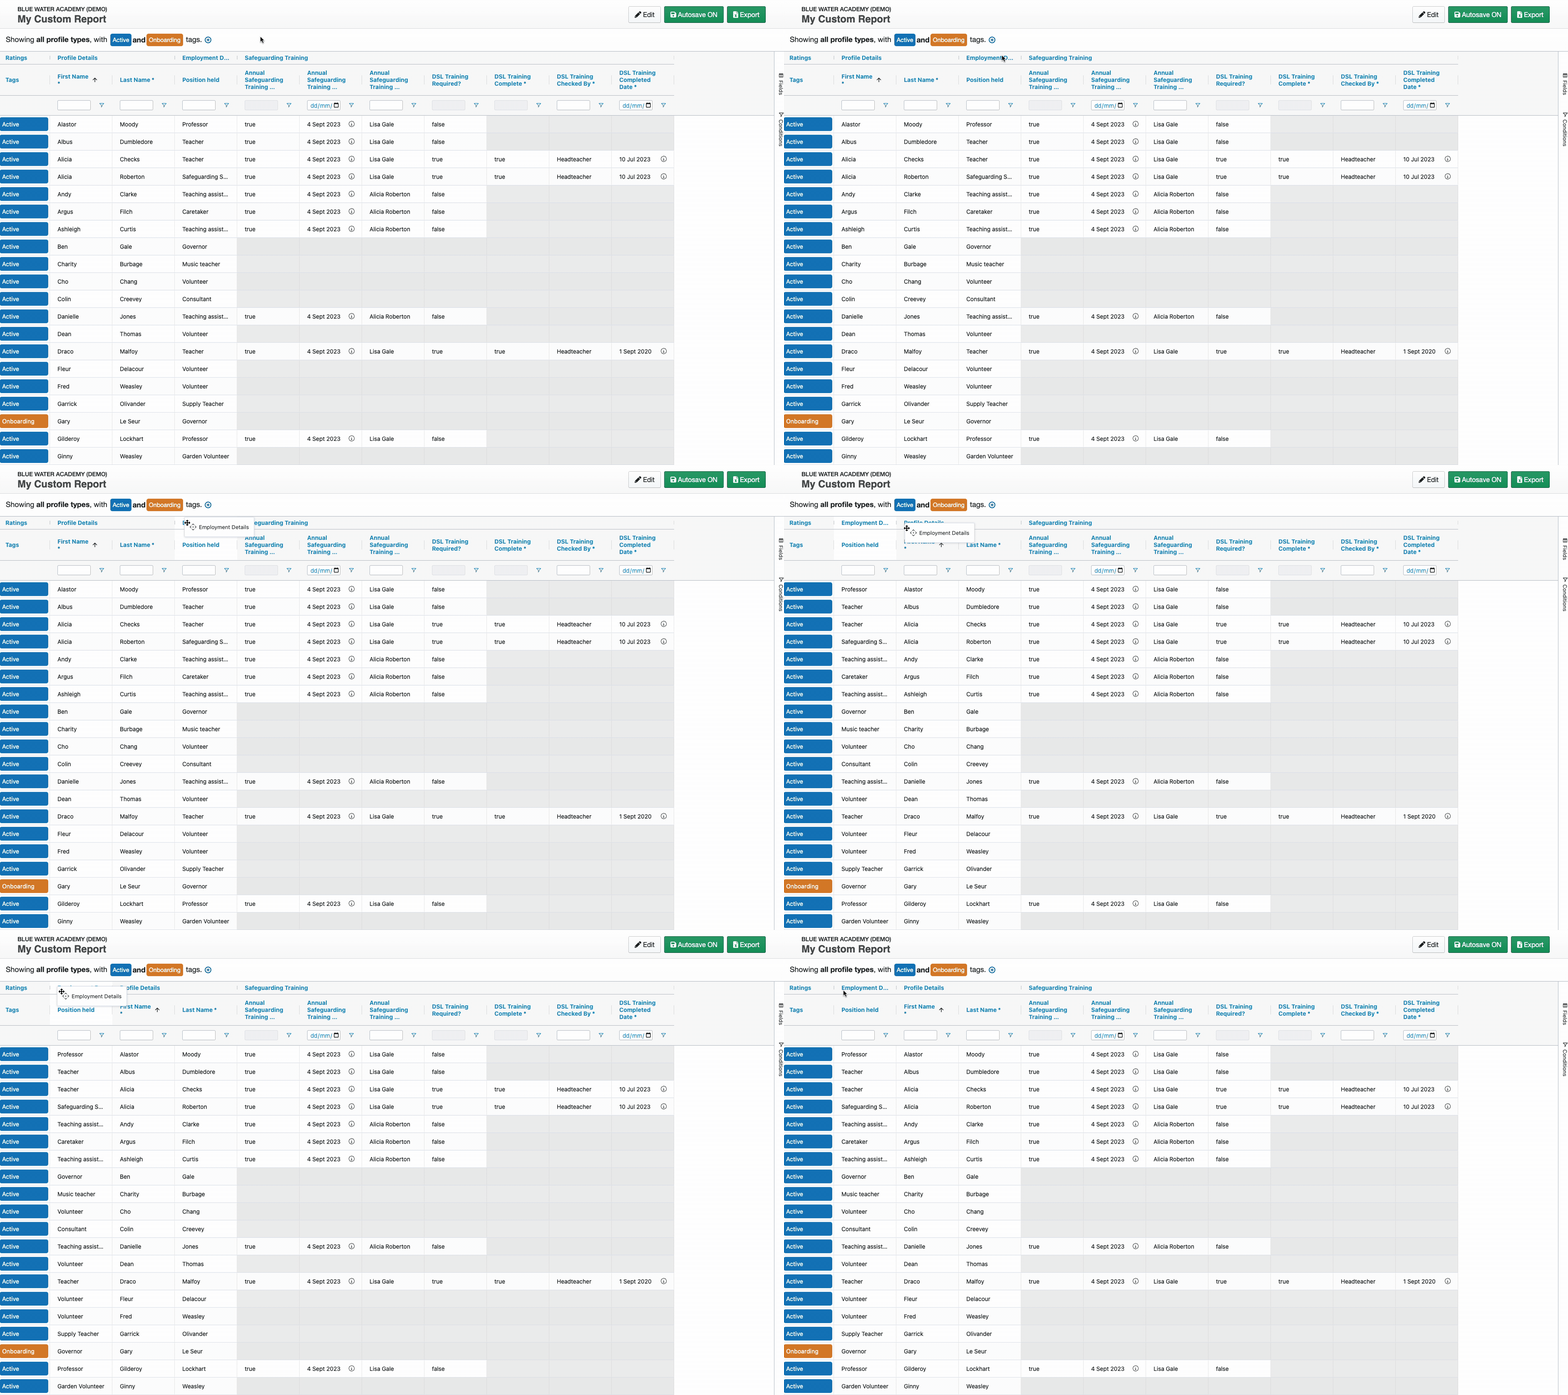
To reorder whole Sections, click on the Section Header on the Report Spreadsheet and drag/drop it to its new location:
Editing Column Widths
You can edit any column widths by hovering over the column border and dragging it out.
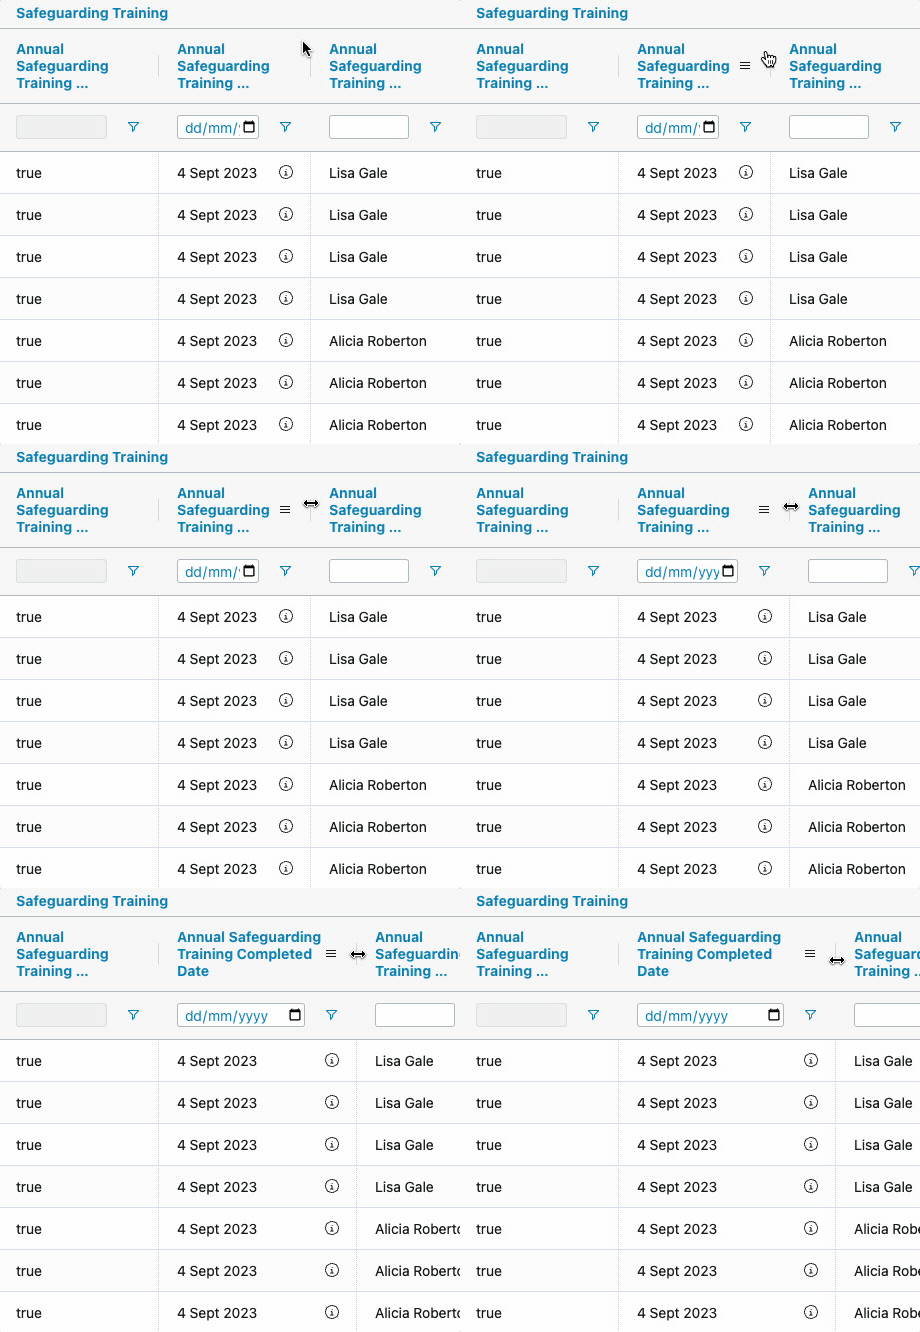
Please Note: Any changes made to column widths will currently not be applied to the Exported Excel spreadsheet.
Pinning Columns
You can Pin columns by clicking on the icon at the right of the Column header and clicking "Pin Column". Then select which direction you'd like to pin it. The columns will then remain visible as you scroll through the rest of the report.
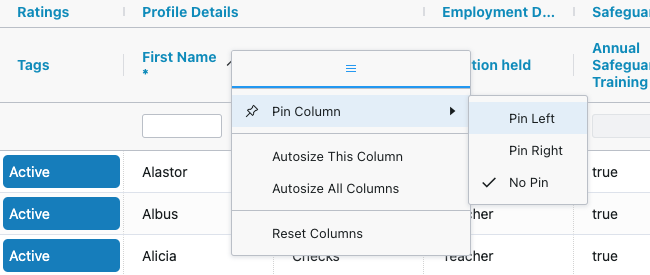
Please Note: Any columns pinned will not remain pinned once the Report has been Exported to Excel.
Setting Conditions
Once you have selected your chosen Sections and Fields, you can also set Conditions for your report.
This is particularly useful if you are creating a report to keep track of staff that have a particular training. For example, DSL Training. Below is an example of the Conditions you would need to set if you wanted a Report to show any staff that had DSL Training:
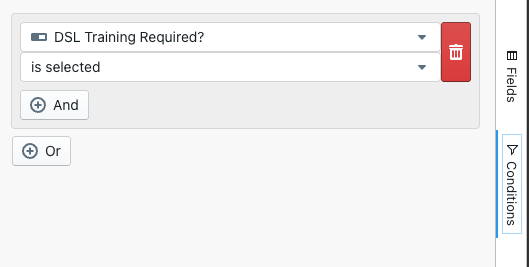
For further information on this, please see our guide on Setting Conditions
Exporting the Report
Once you are happy with your Report click "Export" and once the system has finished building your Custom Report you will be able to click "Download" to view it in Excel.

