Customising the Template
How to match your current spreadsheet to our Template before Importing your data.
-
Getting Started Day To Day Management Managing Users Managing Multiple Schools The Dashboard The Template Editor Managing Staff Profiles Advanced Editor Insights and Reporting User Settings MIS Integration Troubleshooting and Support Safeguarding Guide What's New External Checks Sign In App Integration Incident Tracking
Table of Contents
Video Guide
Matching our Template to your Spreadsheet
To start with, you're going to want to make sure that everything that is on your Spreadsheet is on our Template and visa versa.
To begin, go to the Settings Tab. Then under the Organisation menu, select Templates and click "Edit" to open the Template Editor.
Please Note: If you are a Trust Administrator and wish to edit the Template across all Organisations within the Trust, you will need to access the Trust Template Editor via Settings>Federations>Templates>Edit
Here you will see all of the Sections and Fields available on the system by Default:
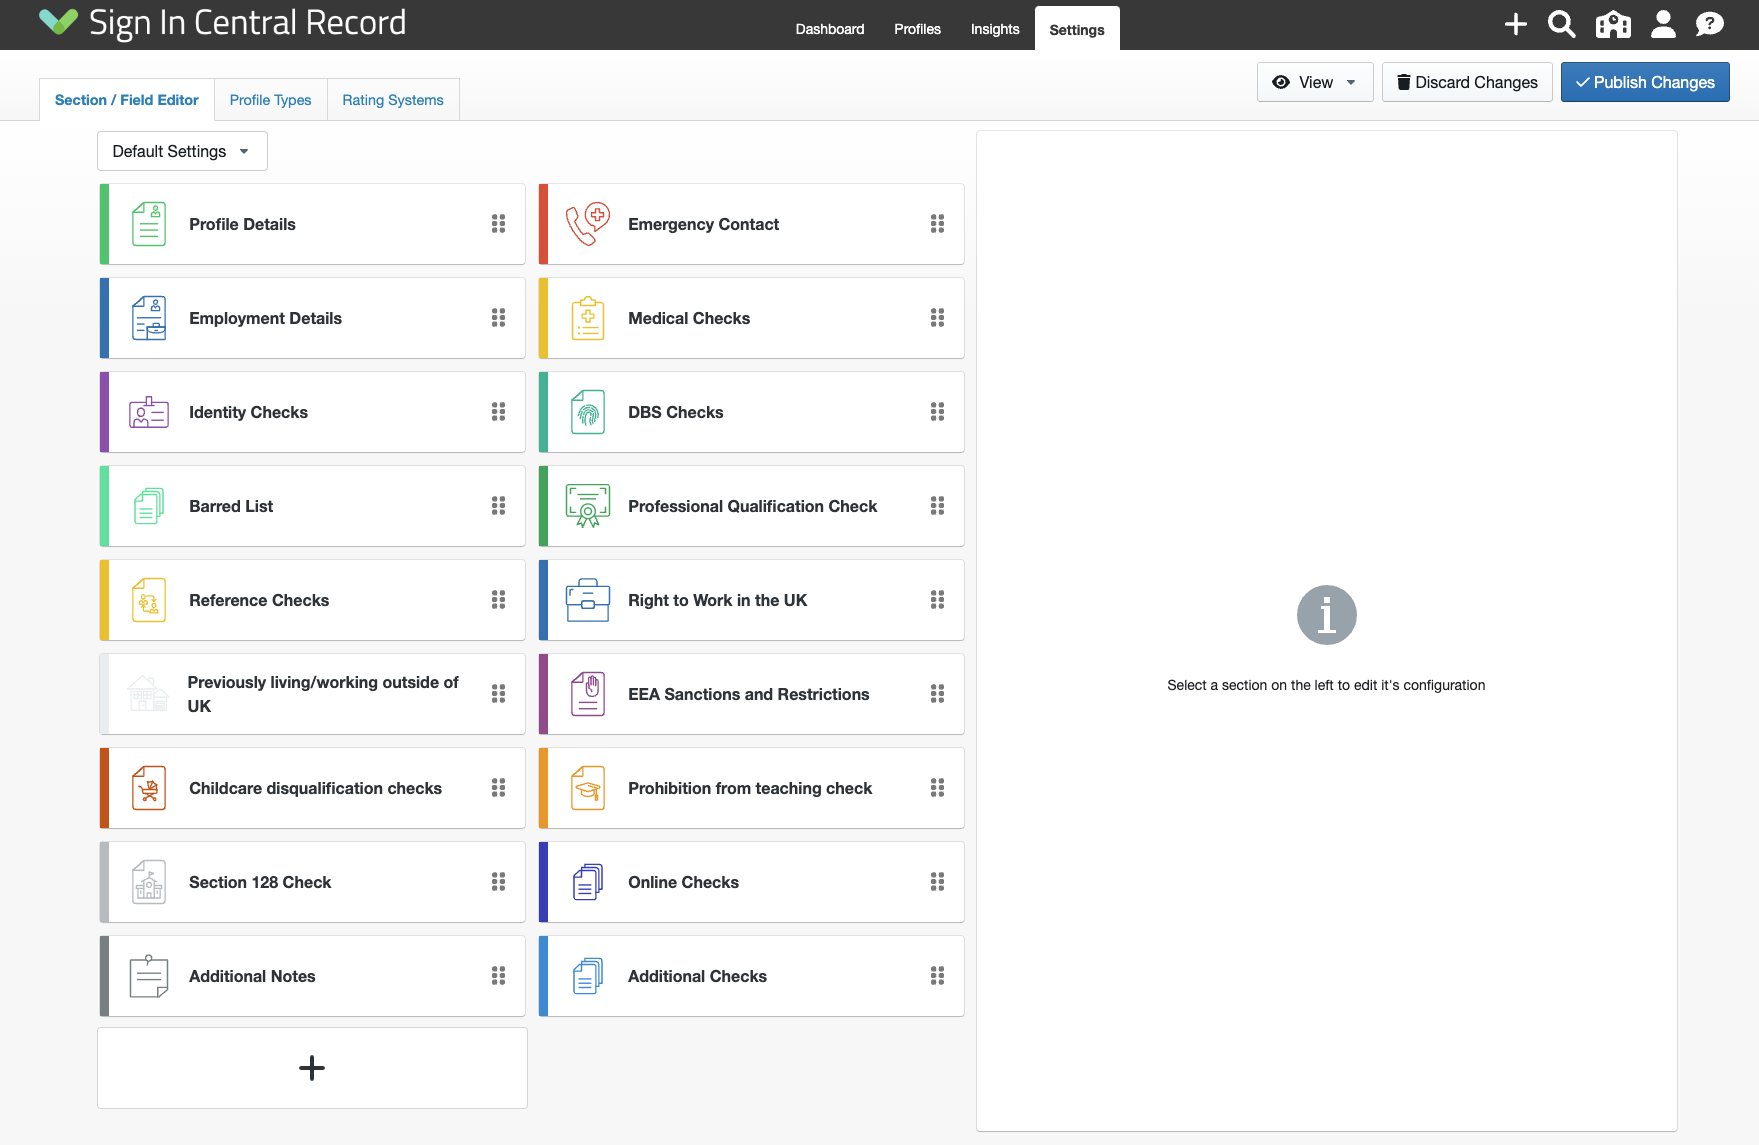
Hiding Sections that you don't want to record on your SCR
By default, we have included some Sections that are not Statutory to record on your SCR and as such you are able to switch them off if you don't want to use Sign In Central Record to record the information.
For example, some schools don't record Emergency Contact details on their SCR. If you wanted to switch off this Section, simply double-click on it to access the Section Editor.
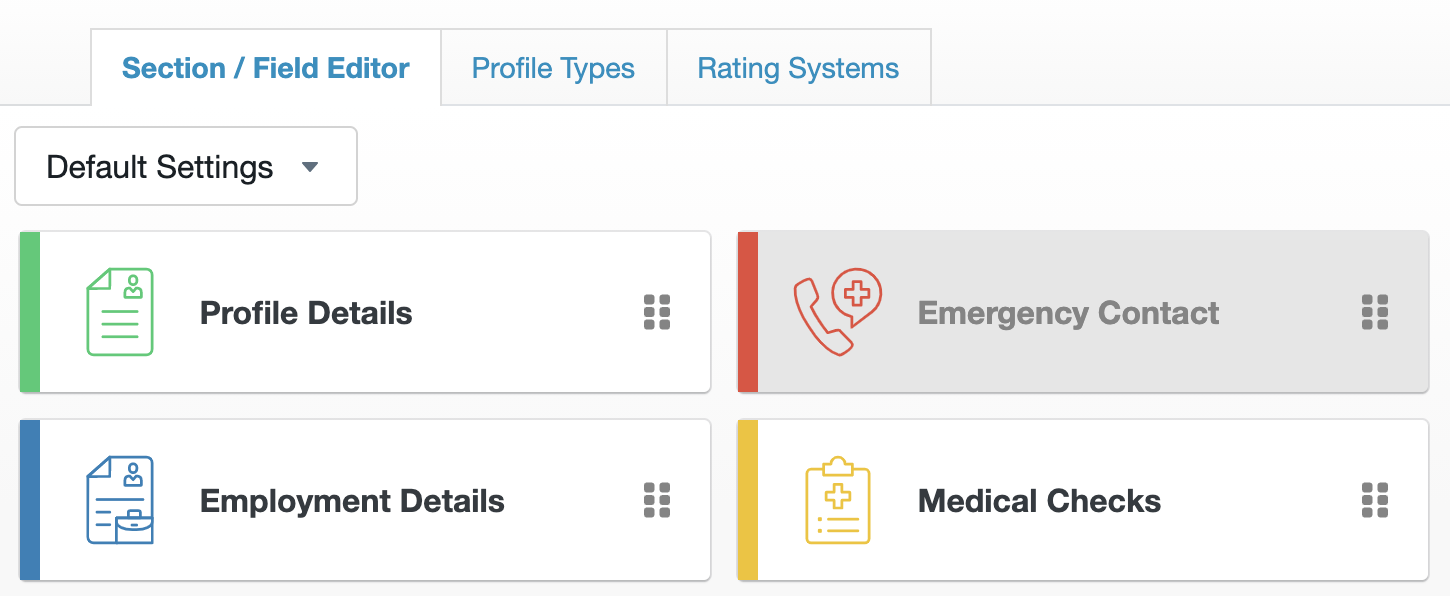
Next, click on the visibility eye icons next to any Profile Type that you want to switch the Section off for. The icon will then appear as being crossed out indicating that it is switched off:
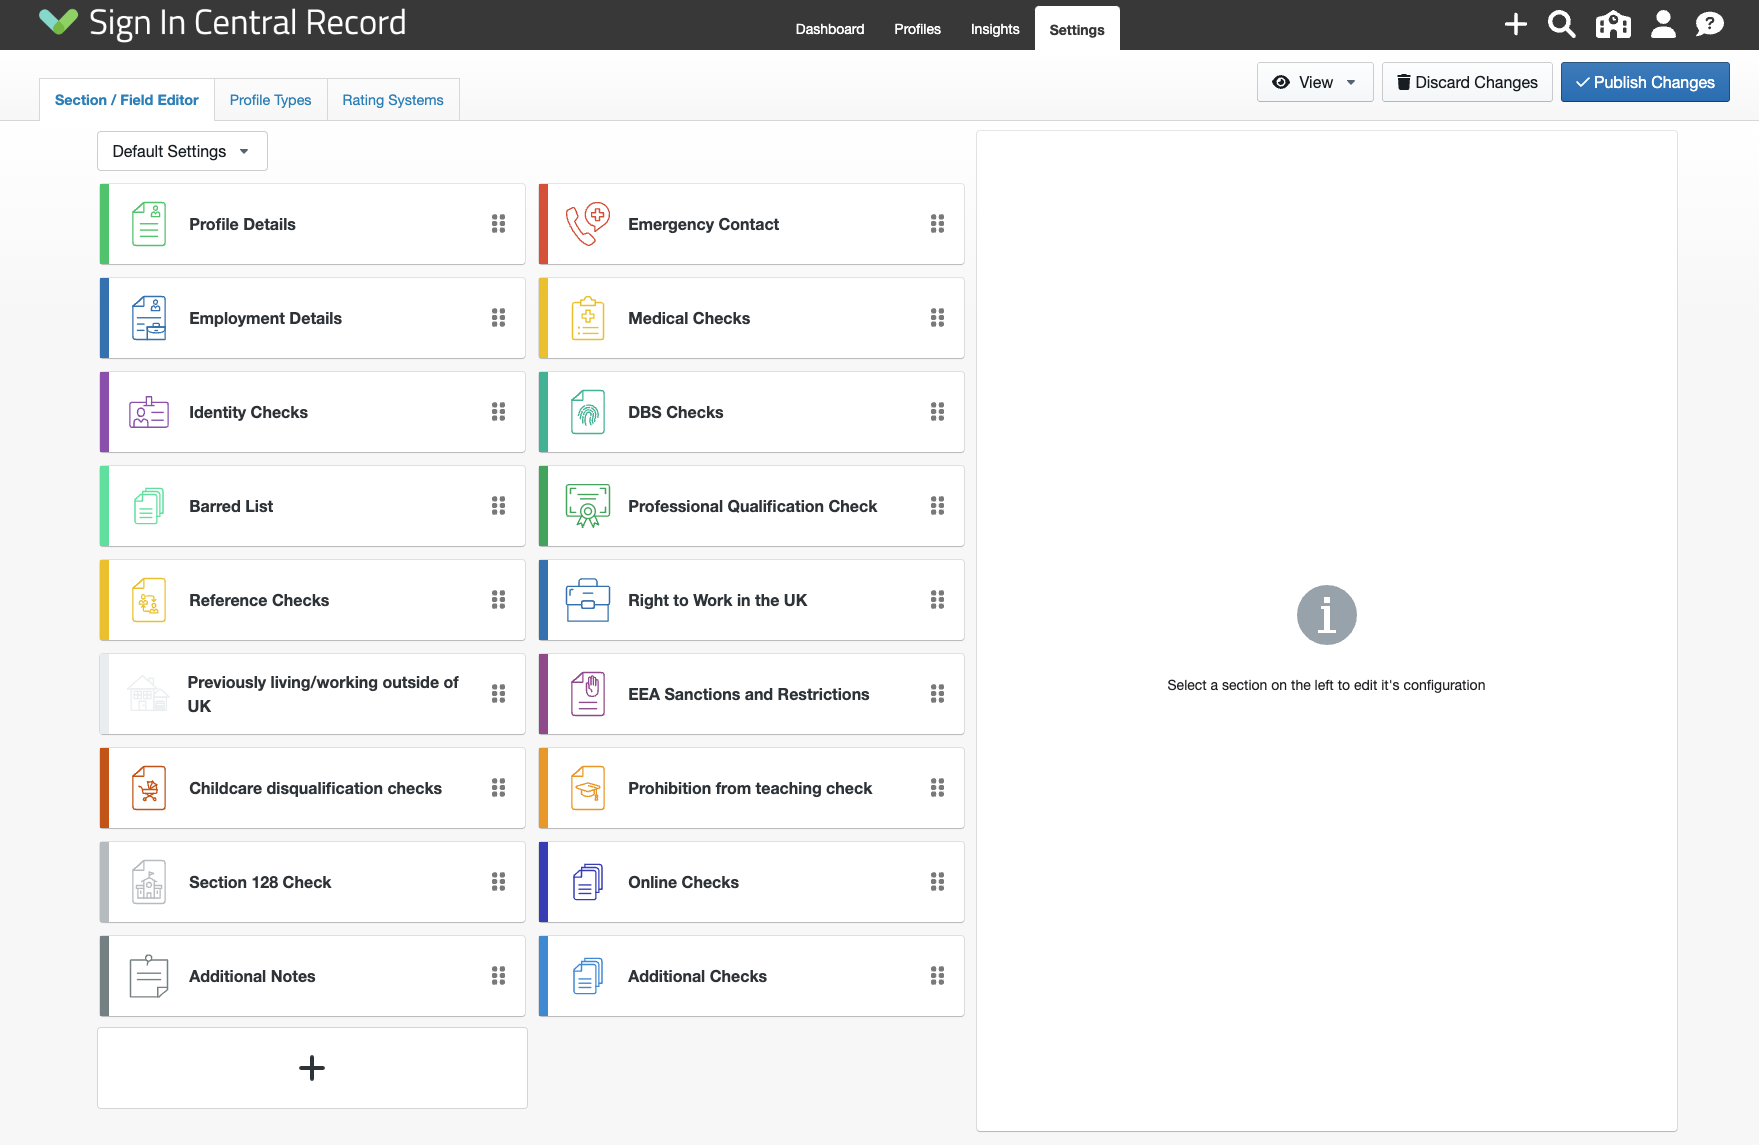
Click "Save Changes" at the bottom of the Section Editor when you are finished. You will then notice that the hidden Section shows as "greyed out" on the Template Editor, meaning that this won't appear on any of your Profile Types:
Hiding Fields
There may be some Non-Statutory fields on our Template that you don't record. A common example is "Middle Name".
You can hide a Field by single-clicking on the Section is it within (in this example: Profile Details) and then double-clicking on the Middle Name Field to bring up its editing drawer:
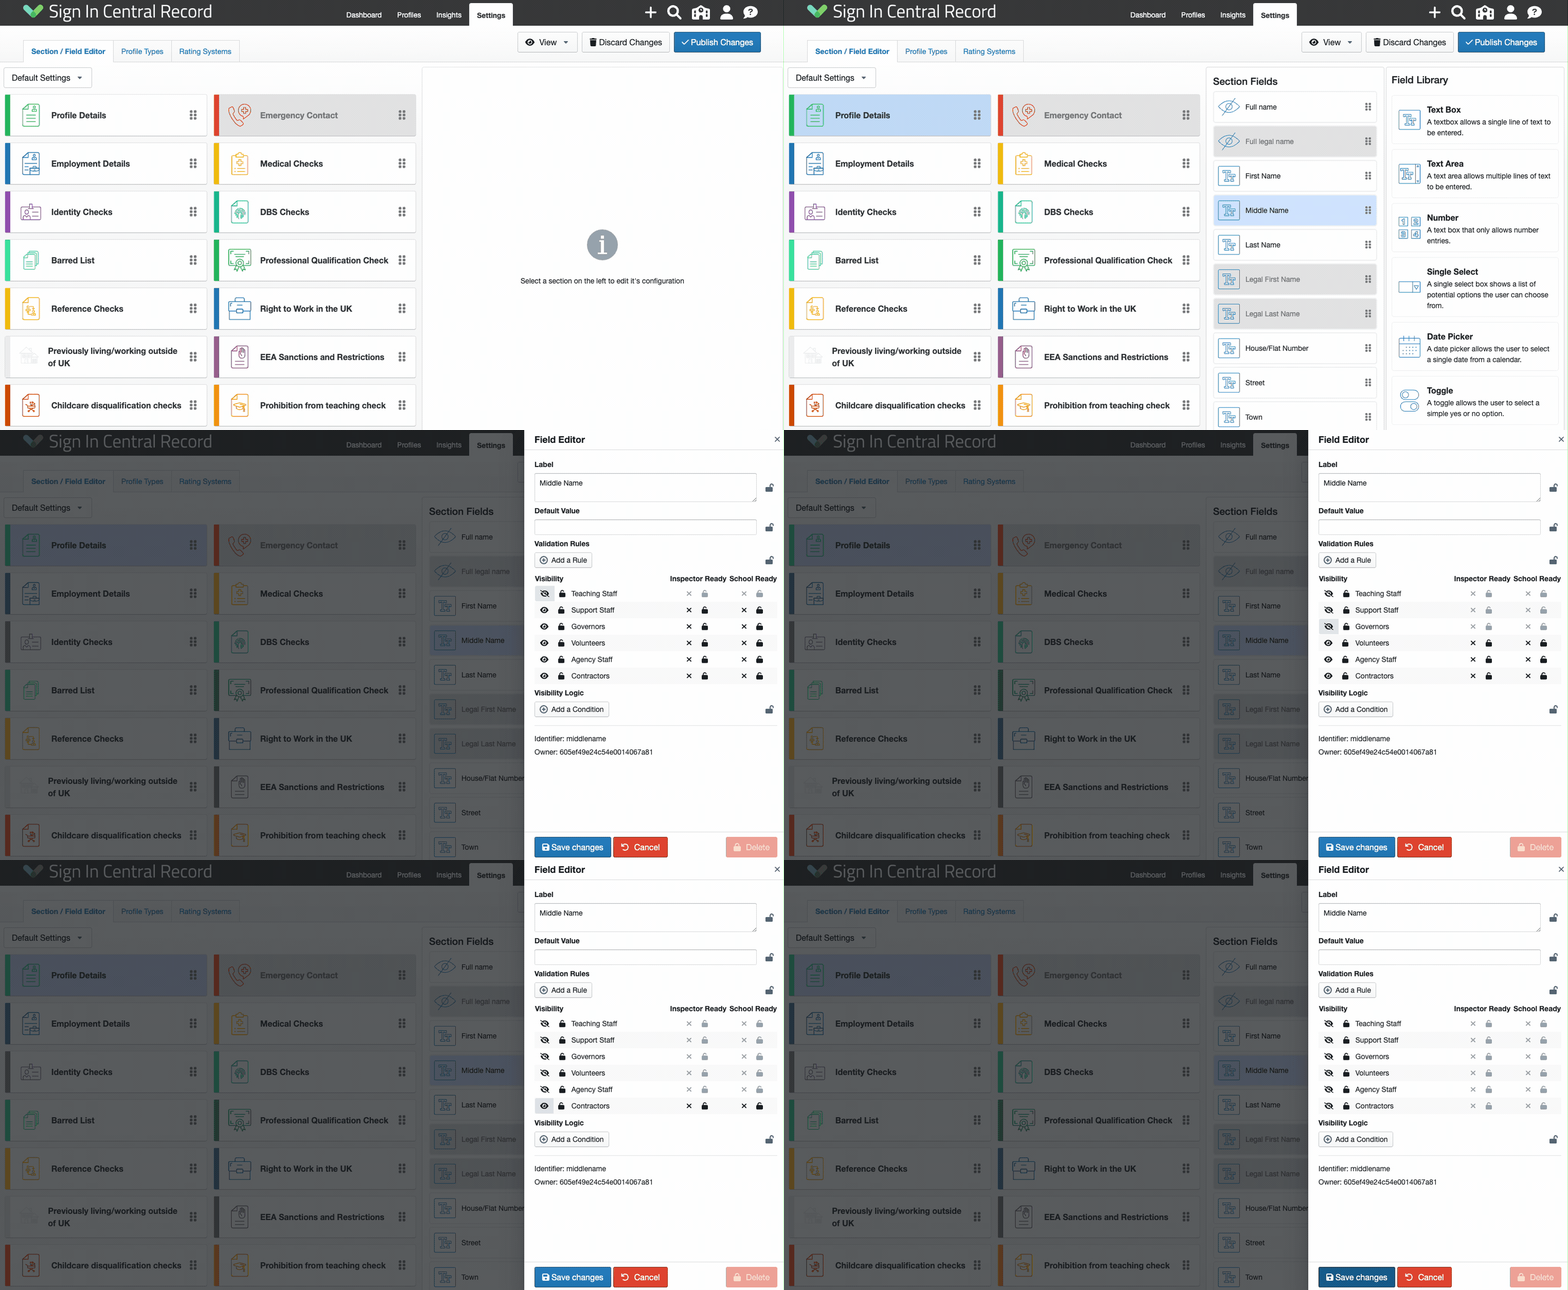
As above you will need to click on the eye icon for each Profile Type that you want to hide this Field for, then click "Save Changes".
Customising Fields
You can customise any Non-Statutory Fields to match how you record them currently. For example, a common difference that we see is how addresses are recorded.
On Sign In Central Record, we split the address out as below:
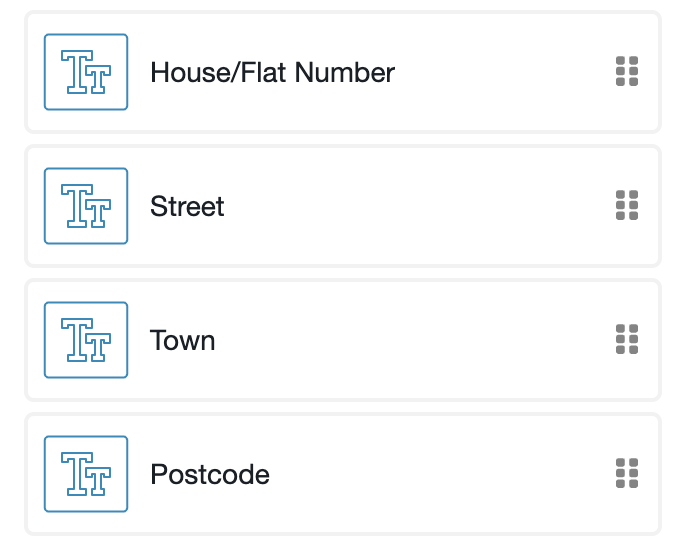
If you record your addresses in a single on your Spreadsheet instead, you can amend our Template to match. To do so, double-click into the 'Street', 'Town' and 'Postcode' Fields and then hide those Fields from view as shown in the example above.
Next, double-click into House/Flat Number and change the Label to "Address":
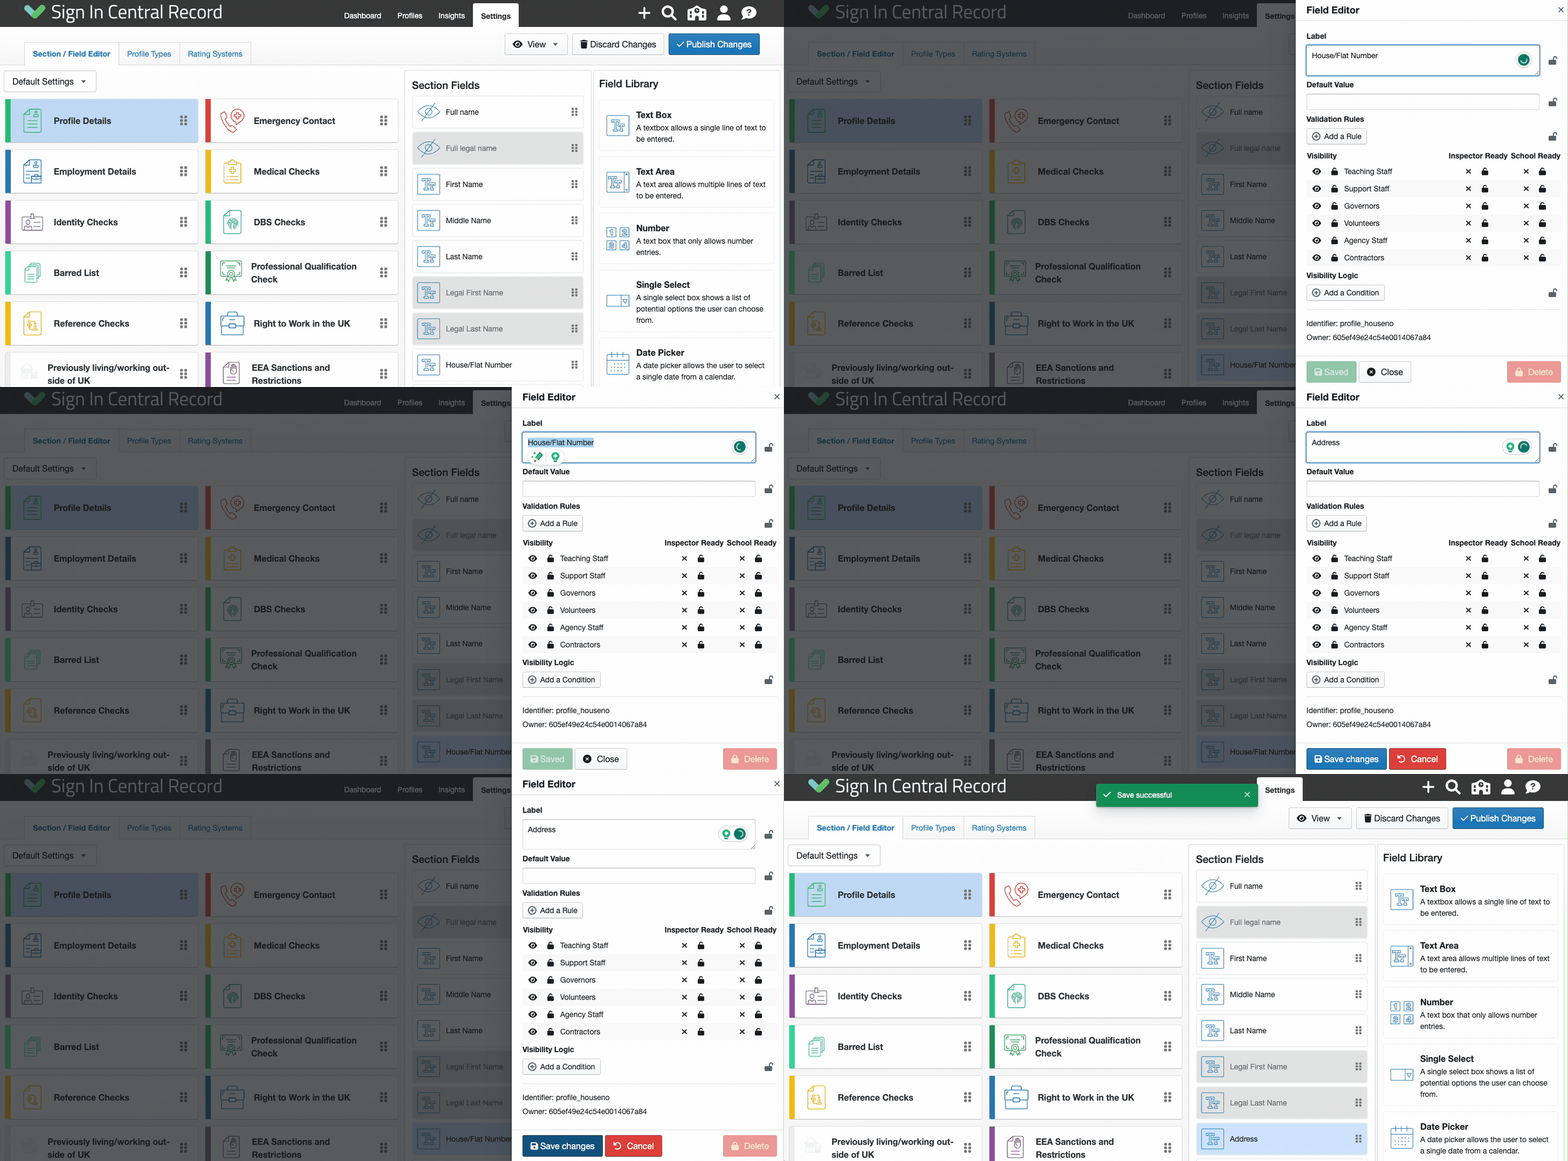
This will now have amended the columns within the Bulk Importer so that you can input your addresses into one cell.
Statutory Sections and Fields
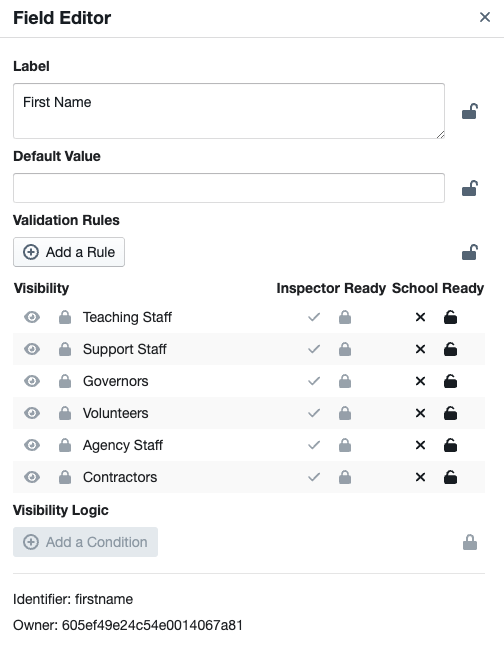
If on opening a Section or Field Editor you see that the visibility eye icons are "greyed out" as below, it is because this is a Statutory Section/Field and therefore this can't be edited:
Adding in Fields or Sections
You can also add any Sections or Fields (columns) that you have included on your Spreadsheet to our Template by following our guides below:
We have also created a Guide giving an example of how to Create a Staff Training Section in full.
Adding Profile Types
If you have more Profile Types than we have by default on the system, you can add your own Custom Profile Types. These will then show as tabs on the Bulk Importer.
Once you have finished making changes within the Template Editor, click "Publish Changes" to make them live on your system.

You are now ready to start Importing your Data!
